
DIY Tailor Any T-Shirt To Fit You Perfectly
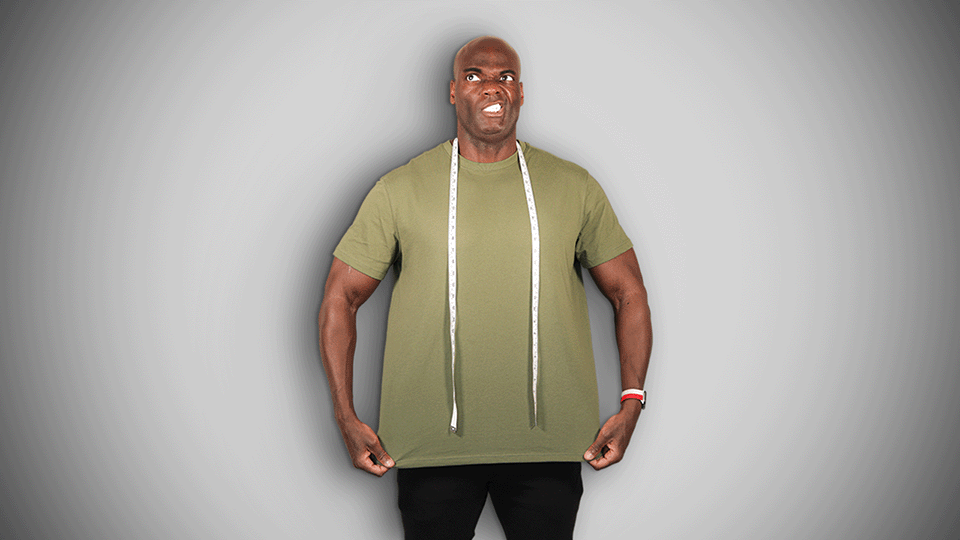
I got this shirt at Target, it’s one of those Goodfellow and Co $8 Lyndale T-shirts. Pretty solid.
Except it doesn’t fit at alI. It looks like a poncho.
Most store bought t-shirts look like this. It's annoying, and we end up settling for that hot garbage. Then there’s the supposed “slim fit” or “tapered fit” t-shirts that some retailers claim sell. Yeah no, those aren’t very good either. I’m tired of drowning in baggy t-shirts that don’t fit.
What if I told you that you could DIY tailor any T-shirt to fit you EXACTLY the way you wanted it to, regardless of its size or brand? If you want it slim fit, tapered, whatever it is, we can make it happen.
It's a bold claim, but stick with me, and I'll show you exactly how to do it.
The Problem with “Standard” Fits
Not all T-shirts are created equal. Not even close. Most come with a side seam that goes straight up and down. Are you shaped like SpongeBob Squarepants? Didn’t think so. This one-size-fits-all approach doesn't consider individual body shapes and sizes at all, leaving us with t-shirts that we absolutely hate.
Well, there’s a reason for that (unfortunately).
Store bought clothes are made to fit everyone, and because of that they don’t fit anyone. Manufacturers make a few standard sizes and just expect everyone to settle for one of those. Small medium or large. Pick one.
This looks like hot garbage…

This is ridiculous…
The Safety Pin Method SUCKS
Before I show you the best method, lets talk about a commonly advised pin method—where you temporarily adjust the fit using safety pins—and why it’s terrible. The main issue is that it's not really accurate or repeatable at all. You might get an ok fit on one shirt, but replicating that fit on another isn’t happening. Plus, it’s a hassle to do, you have to try and maneuver your arms in a way that’s just unnatural and just…no. You will put a pin in on one side and then the opposite side might be slightly higher or lower than the other one and you won’t notice. If you have a friend who can help you then great but if you’re a one man show like I am then again…no.

No just…no.
There’s a MUCH Better And More Accurate Way!
My method not only ensures a perfect fit this time but also allows you to replicate the results by adding these measurements to all your other T-shirts. As long as they’re a similar size, but I’ll explain in a second.
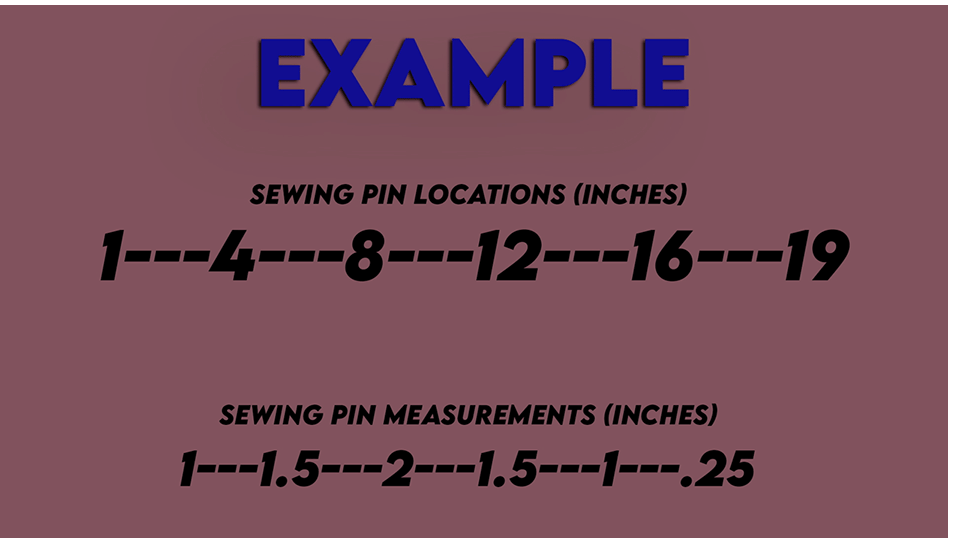
Sewing Pin Placement: Start by placing six sewing pins along the side seam of your shirt. Space them 4 inches (10 cm) apart, except for the top two and bottom two, which should be 3 inches (7.5 cm) apart. This setup covers the typical torso length and provides a good baseline for our adjustments.
Adjusting for Fit: Move those pins to different distances from the existing stitch, depending on what feels right. The distances might range from as much as 2 inches (5 cm) to as little as a quarter inch. I’ve even had to take off 3 inches from the sides of a t-shirt before. But be aware that the more you take off the sides the higher risk of warping the proportions of your shirt.
Focus on what looks best but also what FEELS best. Make sure it isn’t too tight in certain spots.

The sewing pin method can be used to get repeatable results on multiple different t-shirts.

The top and bottom pins will be a little different from the other 4 pins.
Whatever measurements you come up with make sure to write them down! These are actually the measurements that I use on most of my shirts. I’ve been using these for years with great success.
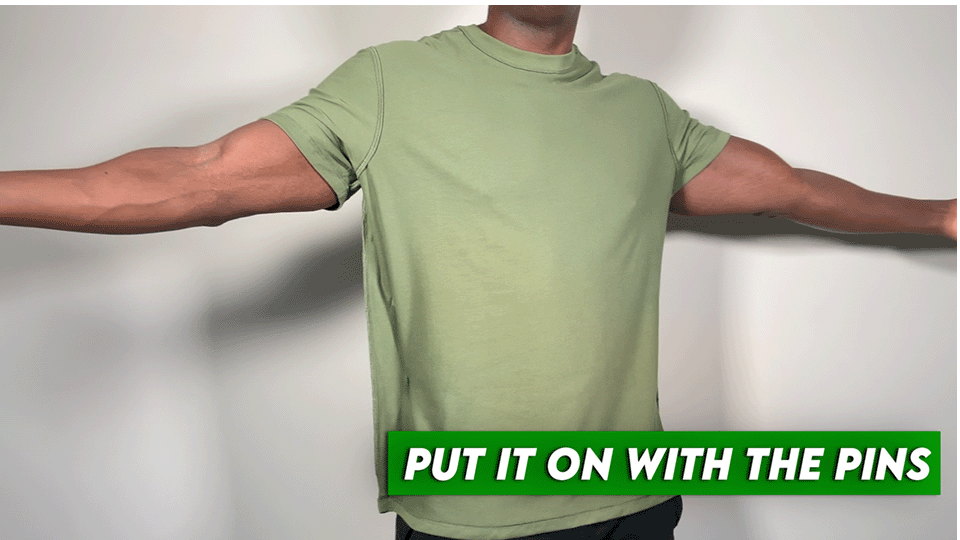
Test the Fit: Put the shirt on with the pins in place. They won't poke you don’t worry! You can even put them in so that the ball side is facing down so when you slip it on the sharp side is up and away from you. Now this step is crucial for assessing the fit! Move the pins as needed, moving them closer or further from the stitch to better contour to your body the way you want. See what feels comfortable. The pins might be too tight in some spots and too loose in others. Adjust accordingly and then try it on again. It seems kinda cumbersome I know but it’s SO worth it!
Record Your Measurements! : Once you’re happy with the adjustments, write down those measurements on a piece of paper or better yet an app like Apple Notes or One Note. These are now your go-to dimensions for tailoring any T-shirt in your wardrobe to achieve the same perfect fit. What I love to do is to go buy the same shirt in a different color and just plug these measurements into it skipping the trying on step. I honestly don’t remember the last time I had to experiment with sewing pins and try on a t-shirt, it’s been years.
Don’t worry they won’t poke you (a lot…)

Move the pins around to different spots until you get the right fit for you. If it feels too tight or too loose in certain spots don’t hesitate to adjust!
Stitching and Finishing This MoFo
With the pins in the spots that you want them, it's time to stitch that garbage bag up. Follow these steps to make sure you get a good finish:
1. Sewing: Place the pins on opposite sides of your shirt to balance the fabric while sewing. What can happen Is on one pass you will have the bulk of your garment off to the side of your sewing machine and out of the way. However on the second pass it gets all bunched up underneath your machine getting in the way. This fixes that! Start with a back stitch at the bottom, work your way up, connecting the dots made by your pins. Let your sewing machine do the heavy lifting while your hands guide the fabric smoothly through. You’re not pushing your garment you’re just guiding it.

Pinning your shirt on opposite sides means you can feed it through your sewing machine without it getting bunched up on you.

Take your time and be sure not to sew over your sewing pins! Take them out as you go along.
Sewing Machine Settings:
Straight Stitch
Stitch Length - 2.5
Stitch Width - NA
Stitch Tension - 3-5
Trimming Excess Fabric: After sewing, trim the extra fabric to about half an inch (12.7 mm) from the new seam. For a cleaner finish that prevents fraying, use pinking shears to cut a zigzag pattern along the edge. If you don’t have pinking shears here’s an alternative.
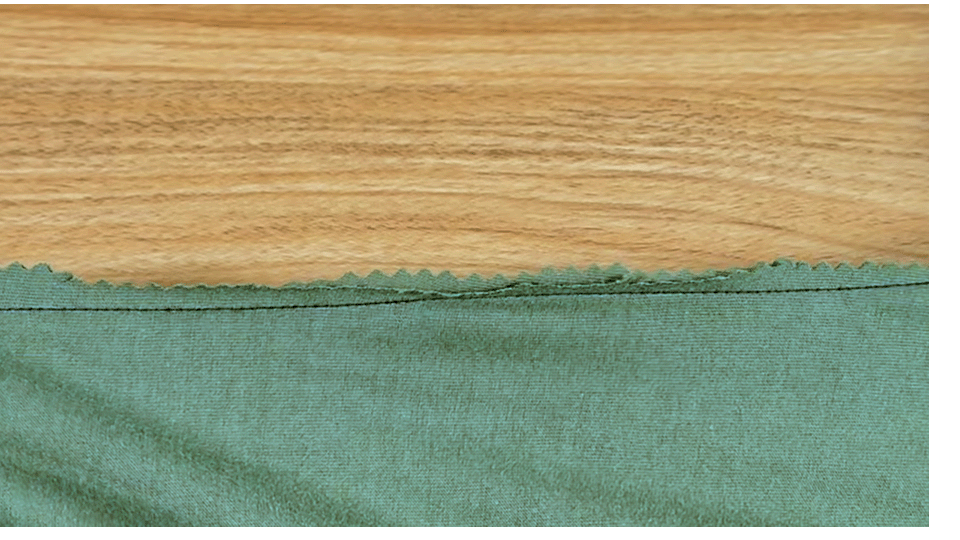
Close up of a finished side seam using pinking shears.
Zigzag Stitch: Set your sewing machine to a zigzag stitch and sew along the trimmed edge. This stitch reinforces the seam and ensures the fabric edges won’t fray over time.
ZigZag Stitch
Stitch Length - 2.5
Stitch Width - 5-7
Stitch Tension - 3-5

Finished zigzag stitch.
The PERFECT Fit
Now not only do you have a T-shirt that fits as if it were made just for you, but you'll also have the knowledge and confidence to apply these same adjustments to ANY shirt. Imagine a closet full of perfectly fitting t-shirts, all thanks to a few simple tools and a $40 used sewing machine! Actually you don’t have to imagine it because it’s my life, and soon to be yours. And it’s WONDERFUL!

MUCH better!