
How To Hem Your Jeans KEEPING The Original Hem
This is a problem that not only short guys have, but all guys have. I bought a pair of jeans on Amazon that were labeled as the normal length that I always wear. Never had any issues with my jeans being too long from any other brand. Until now.
Well, here’s how to shorten your jeans and keep that sweet, stretchy factory hem intact. If you’ve never used a sewing machine no problem! It’s stupid easy, here’s a quick sewing machine tutorial on the only things you need to know when it comes to tailoring your own clothes, which isn’t much!

Start With the Basics
Alright lets do this! Make sure your jeans are right side out before you get started, just like you'd wear them.
Let’s talk about this factory hem we got going on here. You know, that nice finished edge at the bottom of your jeans? We want to keep that because it looks good, it’s comfortable, and—most importantly—it stretches. You don’t want to lose that elasticity, so let’s make sure we keep it as we shorten the jeans.

Lay those bad boys nice and flat.
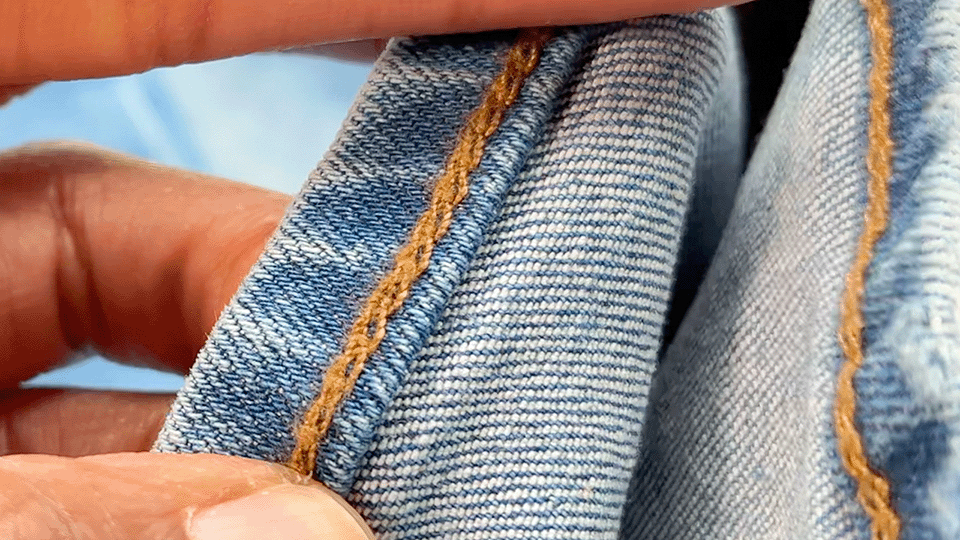
Nice looking isn’t it??
Measure It Right
I’m going to take off 2 inches or 5 cm from these jeans. If you’re not sure how much you want to take off, this is an opportunity for you to experiment and play around a bit. But remember, you can always take off more later if you need too, so start conservatively.
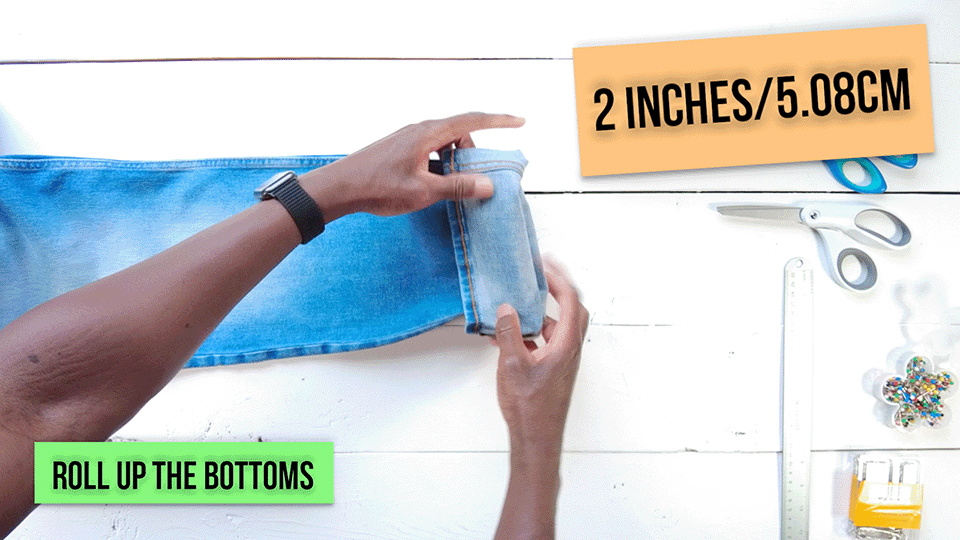
Roll those bad boys up.
Here’s the biggest pro tip: Don’t just measure 2 inches from the very bottom of your jeans. If you do that, you’re including the factory hem in your overall measurement, which is about half an inch thick. Instead, you want to start your measurement right where that factory hem ends instead and then measure 2 inches or 5 cm from there.
Once you’ve got your measurement good to go, grab a sewing pin and pop that bad boy in there to hold your place. This will keep your jeans from rolling around while you work. BOOP! (Yes, that’s the sound effect for pinning.) Repeat this process all around the edges of your jeans, spacing the pins about a half-inch to an inch apart (12 mm to 25 mm). You want some space between them to make your life easier when you start sewing.

Measure the jeans from the top of the hem instead of the bottom.

Give them some room to breathe
Prepping Your Sewing Machine
First off, you DON’T need a heavy duty sewing machine for this at all. That’s not to say a weak little mini sewing machine will get the job done. But a lot of people don’t realize that your regular average sewing machine can dew through denim just fine (with a denim needle of course).
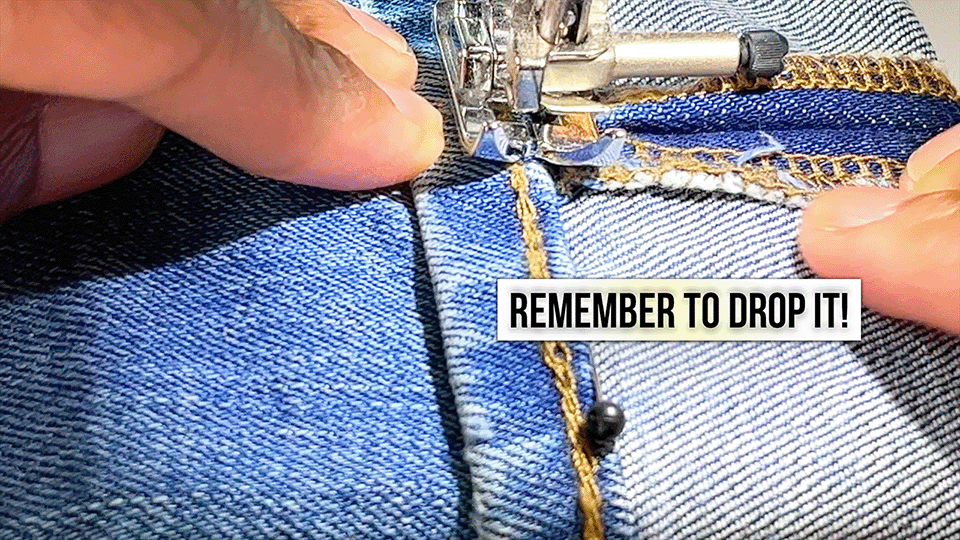
Now, take a look at your sewing machine. A nice close look. Does it have that little piece on the front of it, like an extension table or something similar? If so, take it off. We need to make sure our jeans can slide on easily, and that piece will be in the way.
Once you’ve got the machine all good to go, slide those bad boys onto the end of your sewing machine and start your stitch right after one of the side seams. That way you can hide the backstitching, making your hem look so fresh and so clean (clean).
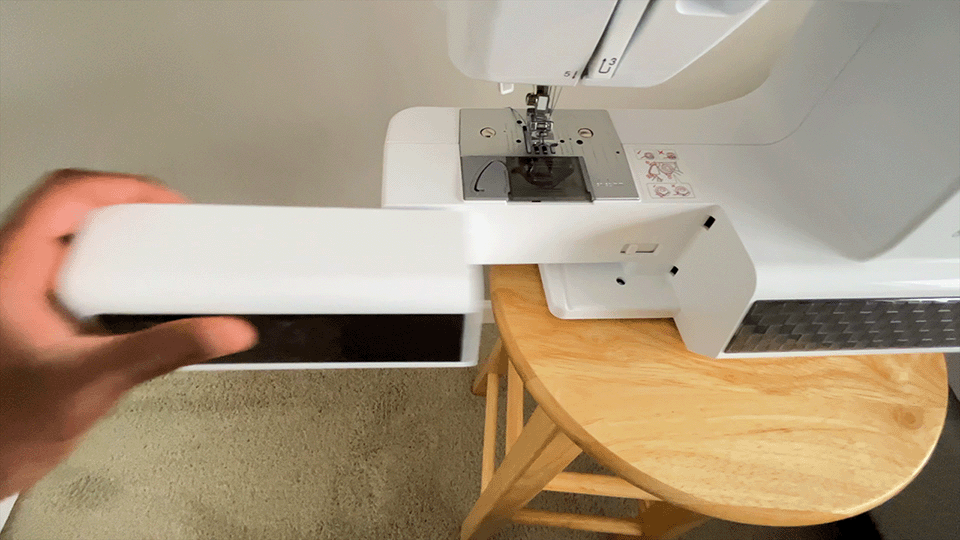
This guy slides off.
Start Stitching
Stitch Type - Zigzag stitch
Stitch Width - 1
Stitch Length - 2.5
Stitch Tension - 4
Alright, it’s time to make these jeans shorter! Start off with a backstitch to lock in your thread thread, and then start sewing as close to that factory hem as you can get. The key here is using a narrow zigzag stitch. Why? Because that stitch is going to maintain the elasticity of the factory hem, so it stays nice and stretchy and comfy, just like the original.
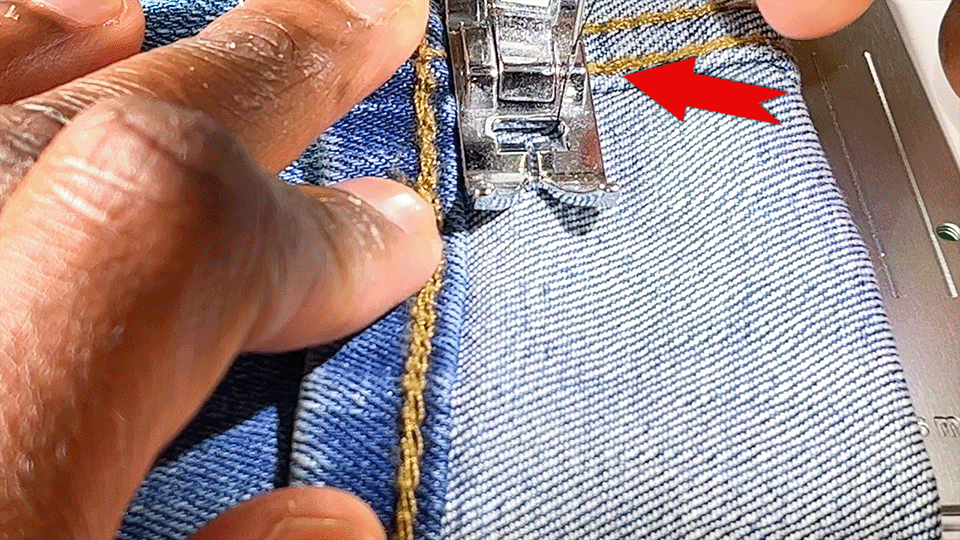
Start your stitch on the side seam.
Keep sewing all the way around the hem. When you get to the other side seam, here’s what you might have to do: raise the presser foot, but just enough to get over the hump. You don’t want to lose tension in the thread, which would mess up your stitch. Once you’re over the seam, put the presser foot back down and keep going. They make specialty presser feet for problems like this but I want you to keep your accessories to a minimum until you’ve decided you actually like tailoring your own clothes. At that point have at it!
Do the same thing when you reach the next side seam. Again, raise that presser foot only for a hot minute to get over that seam without losing your stitch tension. Then, it’s just a matter of connecting the dots with those stitches until you’ve gone all the way around.

Finishing Touches
Now, take a look at how you did. That hem should be looking pretty darn close to the original factory one. Pretty dope huh? I love how it turns out every time (well, most of the time).
To finish up, grab a pair of pinking shears if you have them. These weird looking scissors cut in a zigzag pattern, which helps prevent the fabric from fraying. If you don’t have pinking shears, no worries—just use regular scissors.
After cutting the excess fabric (with regular scissors if that’s what you used), run another zigzag stitch right along the edge to further prevent any fraying. Denim likes to fray A LOT so you want to make sure you finish that edge properly!
How Do They Look?
Try those bad boys on dude! Your jeans should now be the perfect length, with that factory hem still intact. It should be hard to tell which leg was altered and which wasn’t—that’s the goal!


If you like how they turned out, why not take it a step further? I’ve got a quick tutorial on tapering jeans that’s just as easy.
I’ll see you over there. SD out, deuces!