
How To Taper Your Jeans EXACTLY Like The PROS
Ughh…I don’t want my jeans to be bootcut or straight leg or any of that. I want them to have a nice taper at the bottom. If you’re anything like me then this tutorial is for you.
There are some bangers out there that come with a nice taper from the store sure. But I’m going to show you how you can taper any jeans regardless of the brand or size. Let’s go!

I like the left a lot more personally!
Tools You’ll Need
- A pair of jeans (obviously...)- Sewing pins- Ruler- A Used $50 Sewing machineInside Out and Ready to Roll Out
Flip your jeans inside out. You'll notice the back side of the jeans is a little bit wider than the front; don't worry, that's to account for your calves. It's all good, it's how they're supposed to be. I say that because not a lot of beginners know that. At least I didn’t.
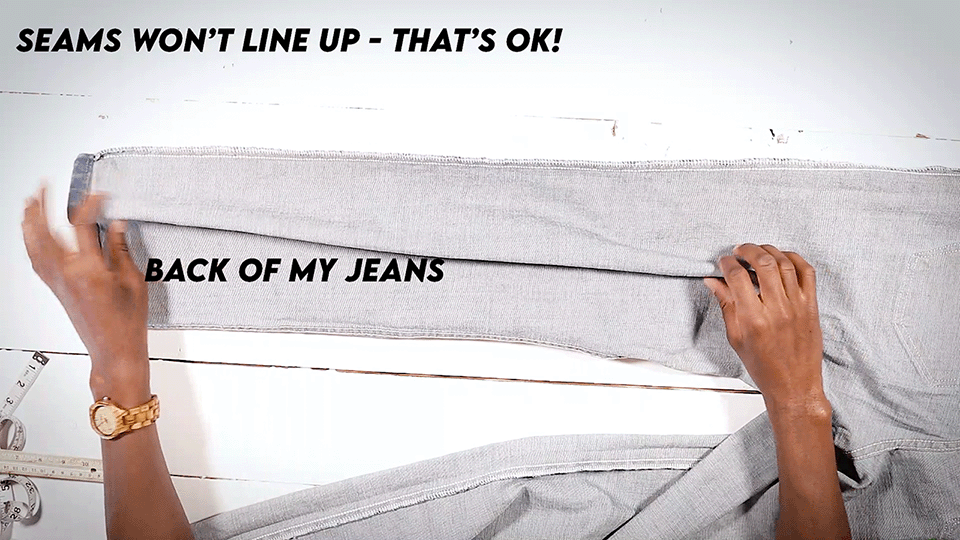
Wait a minute…(that’s normal!)

Make them nice and flat like the Dakota Plains.
Measure the Leg Hole Opening
The trick to a nice taper is a more narrow leg hole opening. My jeans had an 8 inch or 20 cm opening, and that’s way too wide.

8 inches or 20 cm is WAY too wide for my liking!
For reference, slim-fit jeans usually have a 7 inch or 17 cm opening. So, take a sewing pin and mark that 7 inch spot. This isn’t a hard and fast rule by any means, so if you want to vary from this at all then feel free. Your jeans your choice bro!

My slimmer jeans have a nice 7 inch (about 17 cm) wide leg hole.

Put a sewing pin at your new width. Mines 7 inches or about 17 cm.
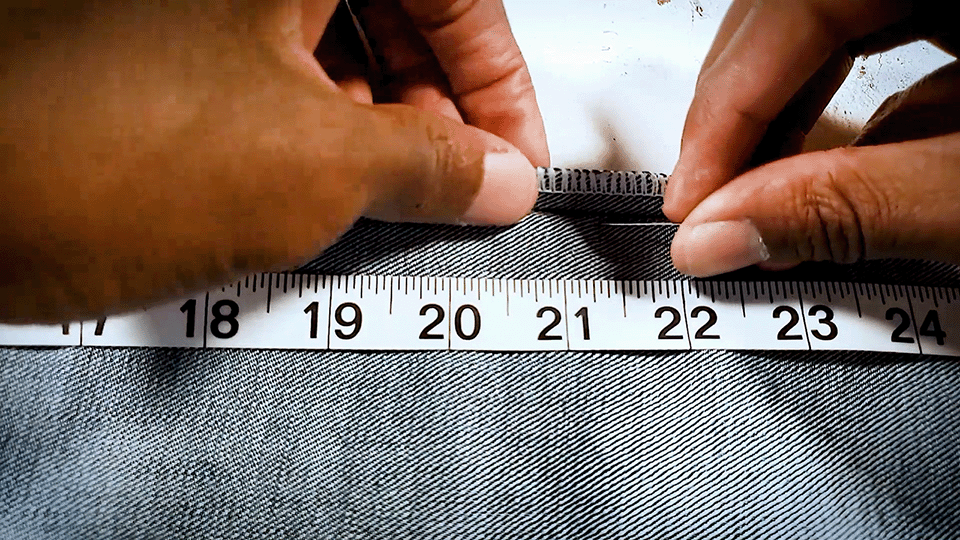
Mark Where That There Taper Ends
The taper should begin at the leg hole and end at the knee. Measure your jeans to find out where your knee hits; for me, it’s 21.5 inches or 54 cm.

Measure your taper from the bottom to where your knee is.
Place another sewing pin at the top by your knee so you can remember where that spot is too.
Put a sewing pin right where your knee is.
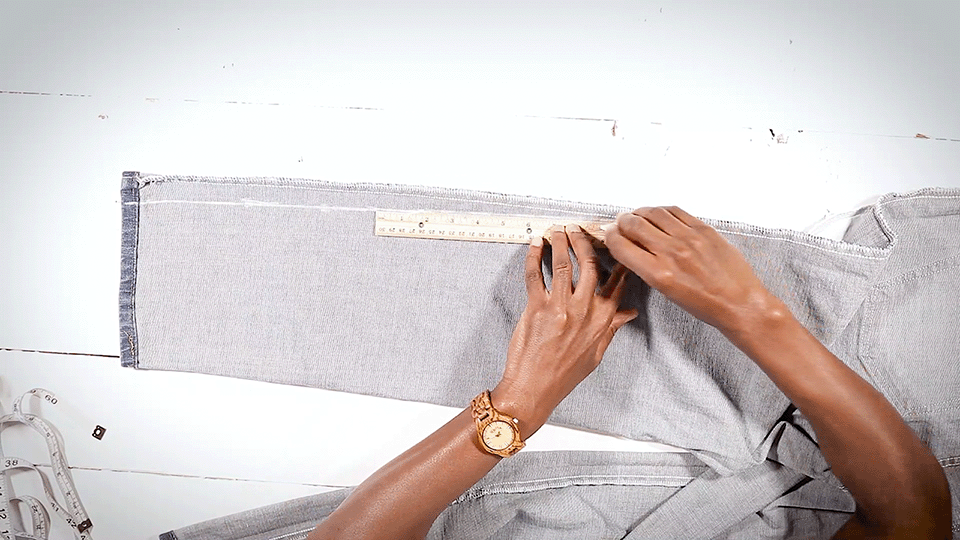
Playing Connect The Dots (I Hated That Game)
If you only have a basic ruler that’s fine. You can use anything long and straight for this it’s all good. But if your line isn’t perfectly straight that’s totally ok as well, don’t beat yourself up over it. Just do the best you can. I have a meter stick but I couldn’t find it so I made it work.
Use a ruler (or whatever you’re using) and a fabric marker or chalk to draw a line between the two points you've pinned. This line is your new stitch you’re gonna sew (bro). You can even use chalkboard chalk or sidewalk chalk if you want. I used to steal my daughter’s sidewalk chalk when I started doing this because I didn’t have any money to buy proper supplies.
Make it work dude.
Make whatever you have work, you got this!
I used to use sidewalk chalk that I stole from my daughter haha!
Add some more sewing pins all the way down that line to hold your jeans in the place where you want. Then try them on and see how they fit. Try sitting down as well as standing up to see how they feel sitting. The fit might feel ok while standing and then give you some mad moose knuckle when you sit down.
Ask me how I know.
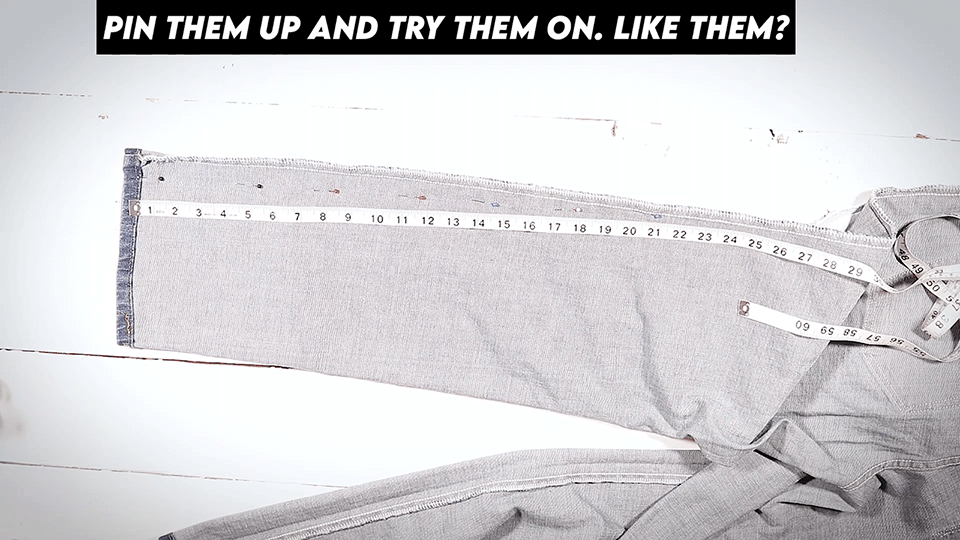
Your pins will look sort of like this.

Try on those bad boys to see how they feel. Too tight? Too loose?
Time To Sew Bro!
Head to your sewing machine and stitch along that line with a straight stitch. Go slow and take your time, you don’t need to hurry at all. Be careful about what I call wandering hands. Thats when you’re going really slow and slightly turning your hands back and forth. You won’t even notice that it’s happening a lot of times. That’s going to make for a wavier stitch. Keep those hands nice a steady.
Stitch Type: Straight Stitch
Stitch Length: 2.5
Stitch Width: NA
Stitch Tension: 3-5

Just follow that chalk line you made and take your time.
Snip, Snip! (Not That Kind)
Once you’ve got that new straight stitch sewn on, cut off the extra fabric, leaving about a half-inch or 12 mm. Be careful—denim loves to fray more than almost any other fabric, so we gotta take care of that.
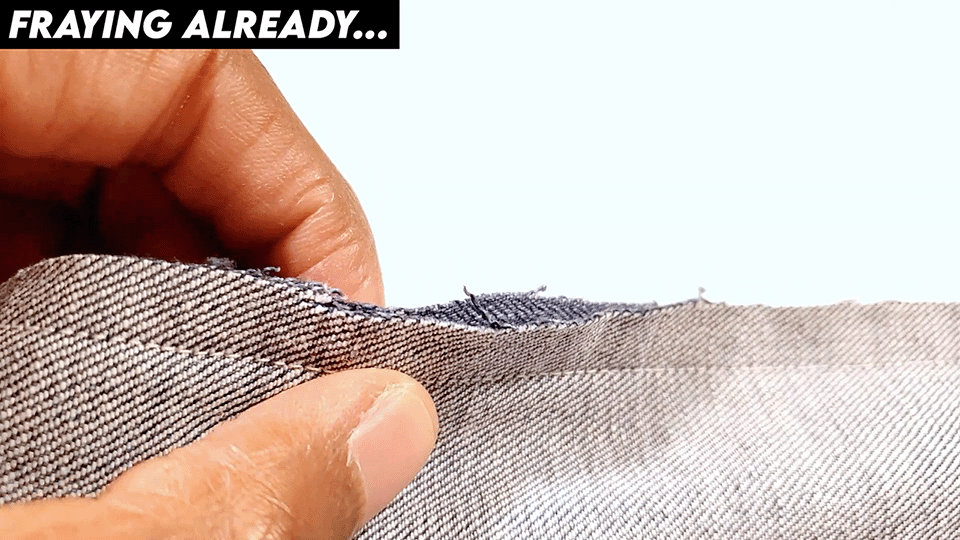
Denim frays REALLY easily!
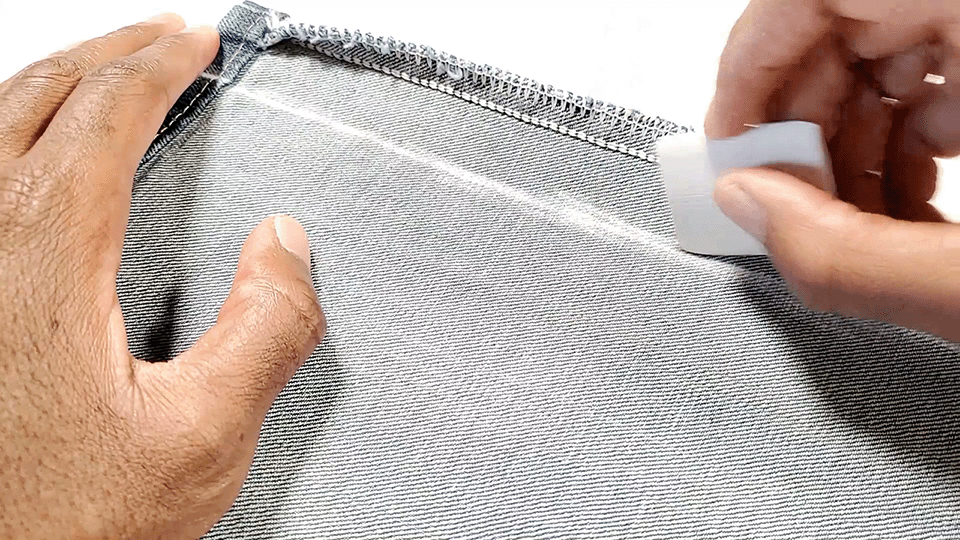
Zigzag Stitch To Finish
To prevent that annoying fraying, run a zigzag stitch along the cut edge. Set your sewing machine from a straight stitch to a zigzag stitch. Put the stitch width to about 3. You want to make a relatively narrow zigzag stitch, and just run your needle right over that raw edge to overlap it.
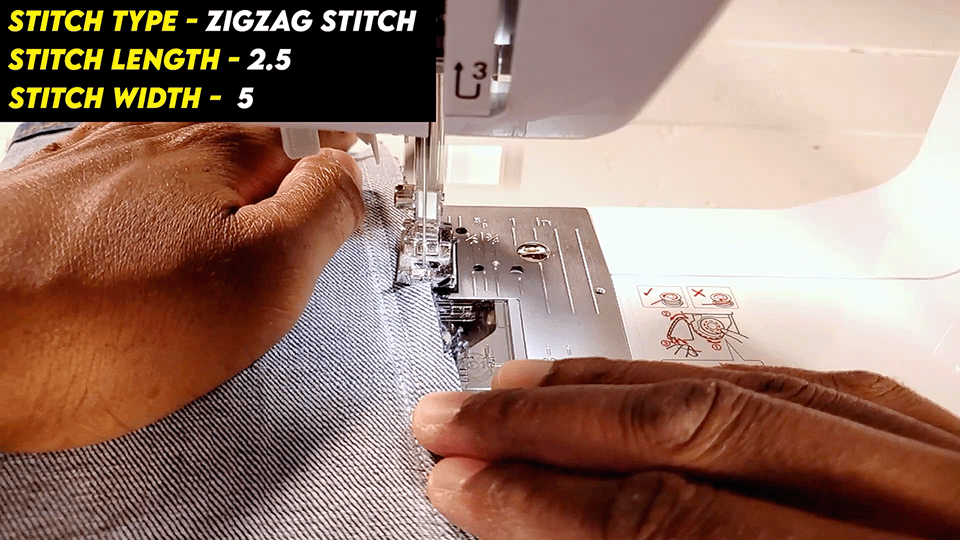
Sew a zigzag stitch over that bad boy!
Now, flip your jeans right-side out and admire your handiwork. You've successfully tapered your jeans and you probably didn’t even think you could! Nice job dude!
SD out, deuces!