
Let’s Master The Straight Stitch
If you’ve ever wanted your baggy store bought clothes to fit you better but didn't know where to start, it’s right here. You can use a sewing machine to tailor them yourself to look the way you want. It doesn’t matter what it is, t-shirts, jeans, dress shirts, chinos, whatever. And if you’ve never used a sewing machine before, no problem, because you can learn what you need to know in about 10 minutes. I’m not exaggerating.
You only need to learn one of two stitches, we’ll start with the first one. It’s called the straight stitch.
A simple straight stitch can make your clothes look tailor-made in literally a few minutes.
What Is a Straight Stitch?
Think of a straight stitch like the foundation of DIY tailoring—it’s the most basic yet important part of altering your crappy clothes to make them fit you better. Your clothes came with a straight stitch on the side seam from the store. The problem is it probably goes straight up and down. It has zero taper to it at all, and last time I checked most people weren’t shaped like squares…

Good lord this thing looks like hot garbage…
Store bought clothes are also constructed a little bit differently than you will be doing at home. That’s why this side seam looks the way that it does. Just something that catches people off guard in the beginning.
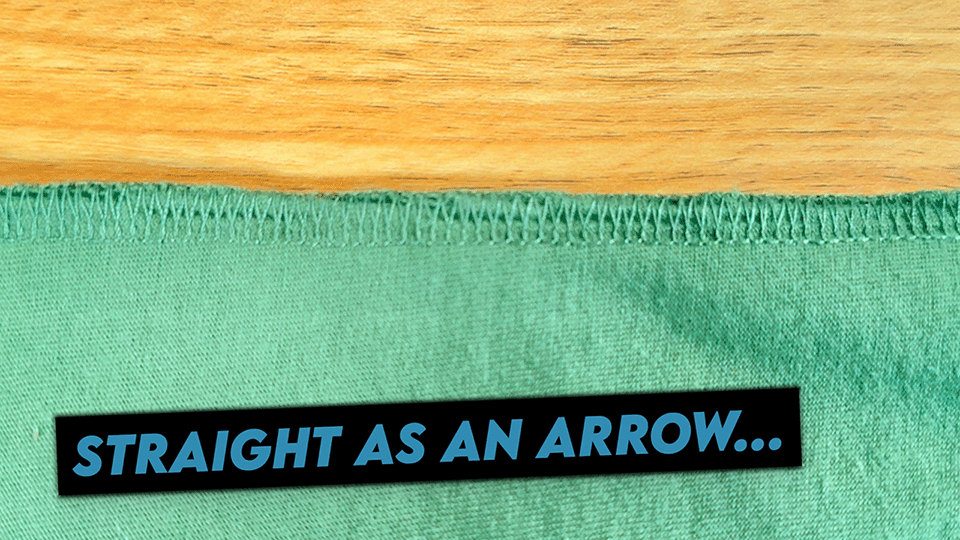
Straighter than…well I’ll keep it PG.
Setting Up Your Sewing Machine
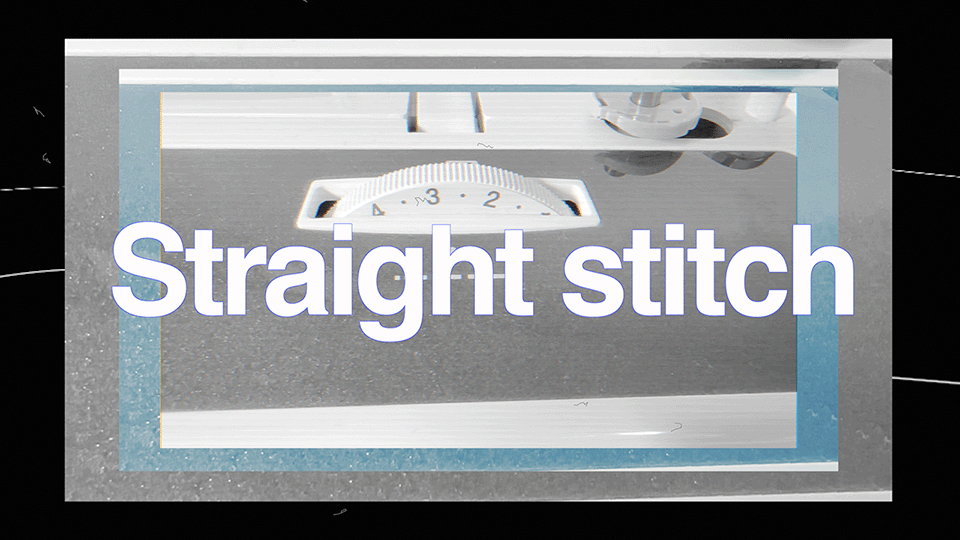
1. Select the Stitch Setting: Just about every single sewing machine made in the last 150 years can make a straight stitch so you don’t need anything special at all. Look for the knob or dial on the side of your machine that changes the types of stitches you have access too. Just turn it to the straight stitch setting (sometimes marked as a number, like "2" or even a straight or dotted line). I can’t stress this enough, sewing machines can make a lot of different stitches, but since we just want our clothes to fit us better then we just need this.
2. Adjust the Stitch Length: Next, find the dial for the stitch length. Set this to 2.5 mm. Why 2.5? Because a standard stitch is created so that each individual stitch you see is 2.5 millimeters in length before sewing the next stitch. Each number on our stitch length dial represents one millimeter, and 2.5 mm being a standard stitch length will mimic what you’d find on your store-bought clothes.
Mines already set to 2.5, and I barely ever change it. Ever.
You don’t HAVE to make your straight stitches 2.5, but I recommend you do. If you choose 1.5 mm or 3.5 mm your stitch will look kinda weird and you won’t be able to unsee it.
Ask me how I know.
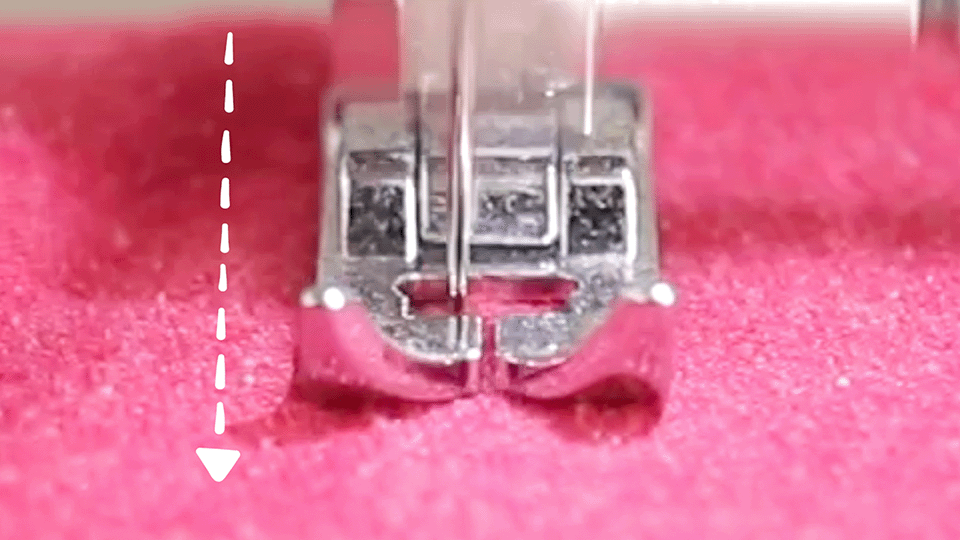
Each stitch is 2.5 mm in length.
Starting That Bad Boy Straight Stitch:
Think of starting your stitch to getting ready to drive:
1. Prepare That Thread Of Yours: Before you start sewing, make sure the thread tails from your bobbin and spool are long enough—think of these like checking your car’s mirrors before driving (which I admittedly do maybe 60% of the time). If they’re too short, you won’t have enough thread to lock in the very beginning of your seam, leading to it unraveling on you when you go to wash it for the first time.
There’s another ask me how I know moment.
2. Position Your Garment JUST Right: Put whatever it is that you’re tailoring right under the presser foot, lining it up where you want your new seam to be. Lower the presser foot like you’d buckle your seatbelt—locking your garment in place and preventing it from getting all shifty on you.
3. Start Sewing Bro: Start with a backstitch to lock in your thread—kinda like putting your 2011 Chevy Cruz in reverse for a bit before driving forward. This makes sure your stitch won’t come loose on you later.
4. Be Careful Dude: As you sew, aim for a smooth, steady pace. If you go too slow, you might do what I call micro movements with your hands. That’s when you shift them around ever so slightly like you’re trying to make sure you’re staying on course (even though you were already). Kinda like driving really slowly and being really hesitant leading to making stupid mistakes. Then you get pulled over and well…no one likes that.

Go slow and take your time!
Troubleshooting: Common Beginner Sew Bro Snags
Imagine you’re sailing smoothly and suddenly, boom! Your boat stops moving—what do you do? Blame some weather anomaly? Divine intervention? Aliens? Well no…it’s most likely something simple and normal.
Well if your fabric isn’t moving and your needle is just punching up and down, it’s the same thing, something simple and normal. Maybe you didn’t thread it properly, that’s super common. But you most likely have a thread jam somewhere that’s causing those headaches. Here’s how to fix it:
1. Lift your presser foot: This is kinda like opening the hood of your 2011 Chevy Cruz to check what’s wrong. Only this time you know what you’re looking at…
2. Clear that log jam: Pull your garment to release any stuck material and remove any excess thread you might see in there. You want to clear these as they happen to prevent damaging your garment or your machine.
3. Just keep going: Once you’ve got it all cleared out, just start sewing that straight stitch again, making sure to begin with a backstitch to secure your thread. If something like this happens in the middle of your side seam that’s totally ok. You can just pick up where ever you left off without any issues at all.
Finishing Your Seam
When you get to the end of your new better looking seam, lock in the stitch with another backstitch, much like parking your car and setting the handbrake, which I don’t think I’ve done since I was in high school. This prevents your stitch from unraveling.
Aww Snap!
What was once baggy and ill-fitting is now a custom-fit garment tailored specifically to YOU. Like turning a rough sketch into a banger of a painting that would make Picasso gasp. You’ve transformed that hot garbage with just a simple straight stitch. It’s that easy!
It’s funny because when most people get into tailoring their own clothes they always say one thing. They wish they would have started sooner. I know I did. It’s something that will change EVERYTHING about your life. The way you carry yourself, your confidence, everything. All from learning how to make a simple better looking straight stitch on your store bought clothes. Crazy isn’t it? SD out, deuces!