
How To Tailor A Hoodie To Make It Slim Fit
Tired of wearing hoodies that looks more like a big ole potato sack? You’re not alone. Now I get it, while oversized hoodies have their perks, there’s something to be said for a well-fitted hoodie that accentuates your physique. Sure, we don’t want ALL of our sweatshirts to be tapered, but it sure is nice to have at least a few slim fit ones.
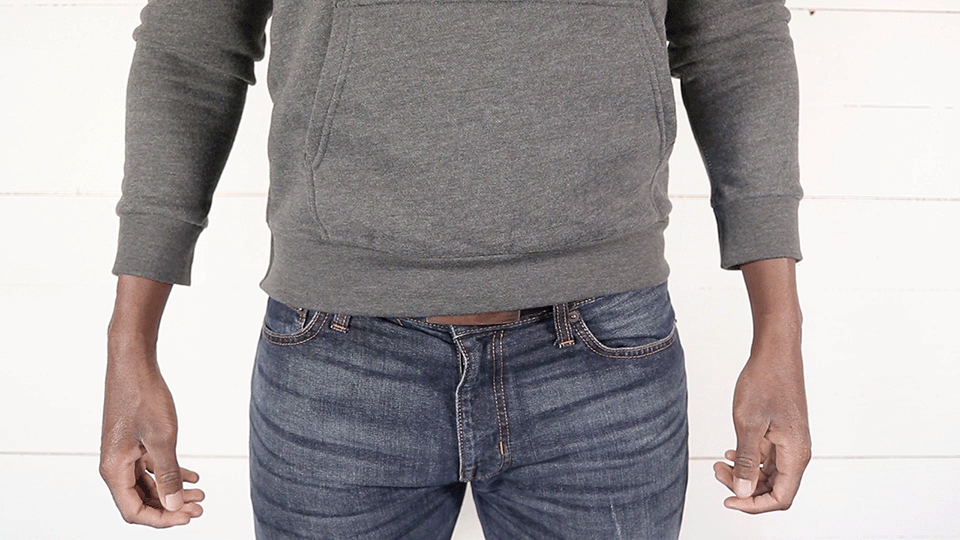
So let's learn how to tailor your own hoodie to fit you perfectly — the way that YOU want. I got this guy at Kohl’s for $15. Super comfortable but it has a terrible fit.
Lets change that.

Just, no…
The Starting Point: The Inside-Out Hoodie
Start with your hoodie inside out to identify the problem areas. In most cases, it’s the stupid side seams and the sleeves that lack that 'V' taper we’re looking for. The side seams go straight up and down like a piece of paper.

Straight up and down. That’s it.
Why Not Just Shrink it?
You’ve probably come across the method where you just throw the hoodie in hot water and then the dryer.

Terrible idea!
Don’t use this method. It sucks.
This method not only shrinks the side seams making it slimmer sure, but it shrinks everything else too. Now the neck might be too tight, the sleeves are shorter when before they were fine, and the overall hoodie is just going to fit way different.
Everything shrinks and we don’t want that.
Instead, get yourself a used $50 sewing machine on eBay or Facebook Marketplace, some sewing pins and a fabric measuring tape. Oh, and some scissors too. That’s it.
Measuring Up: The Pin Technique
Measurements are important, but they don't have to be super complicated. The concept here is honestly pretty basic and simple: you're going to use the sewing pins to mark areas where the hoodie needs tapering along the sides.
A nice gradual taper.
Sewing Pin Measurements Guide:
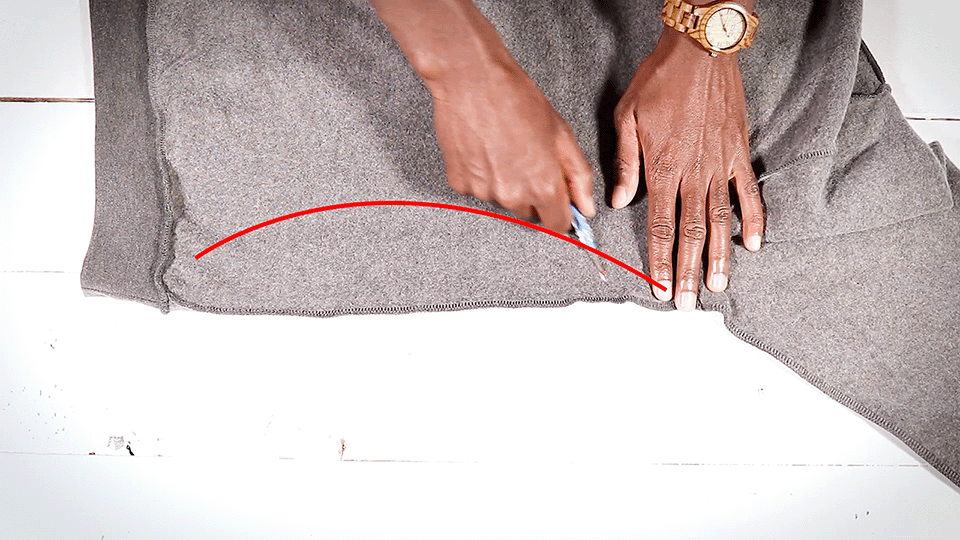
Side Seam: Start at the bottom of the hoodie with pins spaced in 4-inch or 10 cm intervals. Measure from the edge of your hoodie as opposed to where the stitch ends, or the seam allowance. You can measure from the end of the stitch (again, your seam allowance) if you want, just make sure you’re consistent when tailoring other hoodies in the future.

Put 5 sewing pins in 4 inch or 10 cm intervals.
Sleeves: Again, use sewing pins in 4-inch or 10 cm intervals starting at the armpit seam. Keep these pins about half an inch from your original stitch. You can take off more than that if you need to especially if your hoodie is really big, but in my experience anything more than .5 inches or 12 mm ends up being too tight.
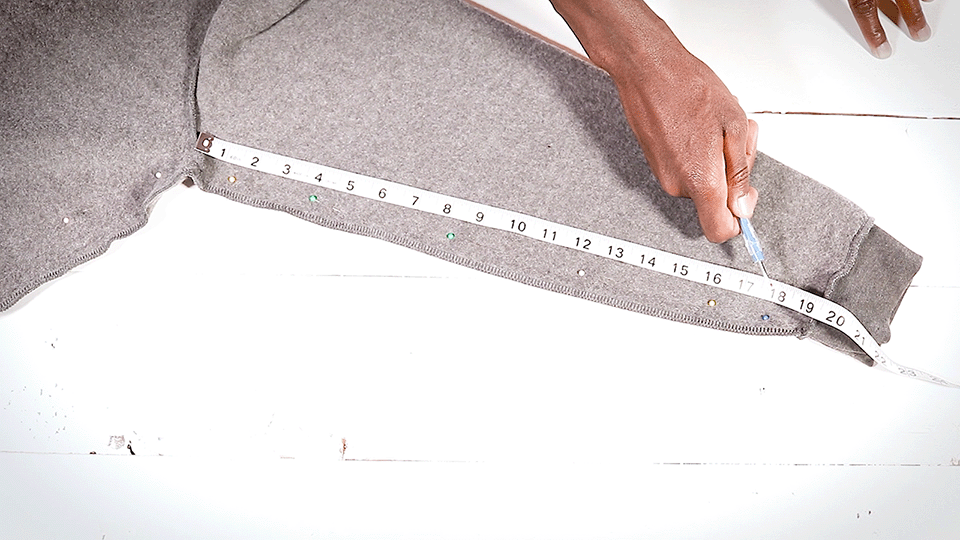
We’re slimming the sleeves as well.
Play around with the measurements a bit and see what you like. You might want to take off 1/4th of an inch in the waist and 1/2 inch in the chest (6-12 mm respectively). What you’re going to do is try on the hoodie with the pins in it to see how it fits. If you don’t like a certain spot them move that sewing pin a bit. Your hoodie your choice!
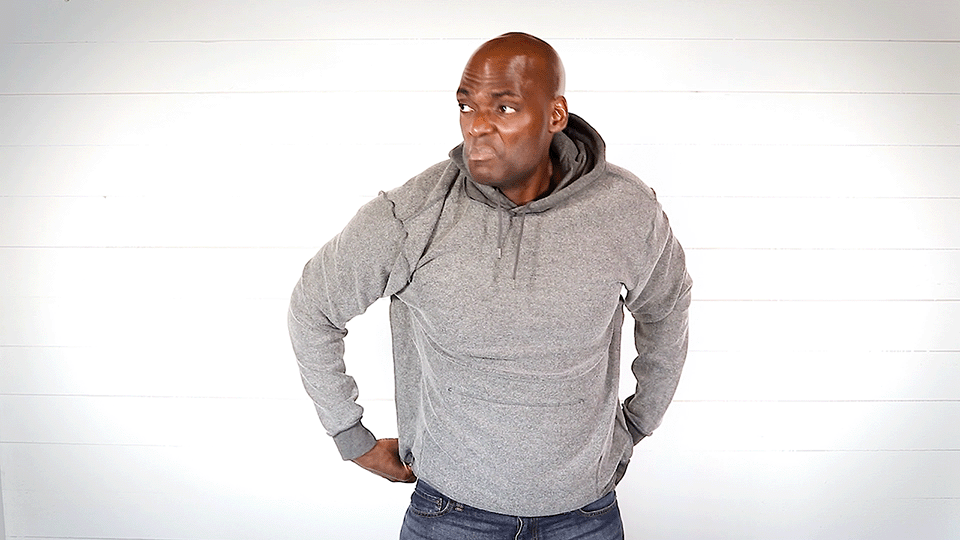
I don’t know why I’m making that face…
Pro Tips for Beginners:
Orientation of Pins: Point the sharp end of the pin away from the direction you’ll be pulling the fabric. This will prevent you from stabbing yourself when trying it on. But even if they DO poke you it’s honestly not that bad. Plus it’s waaaay worth it for a better fitting hoodie.
Stitch that mofo up:
You're going to start sewing at the bottom-most pin on the side seam. Try and make it so the bulk of the fabric is on your left side so that it can move freely and not get bunched up under your sewing machine.
Bust out your sewing machine and use these settings:
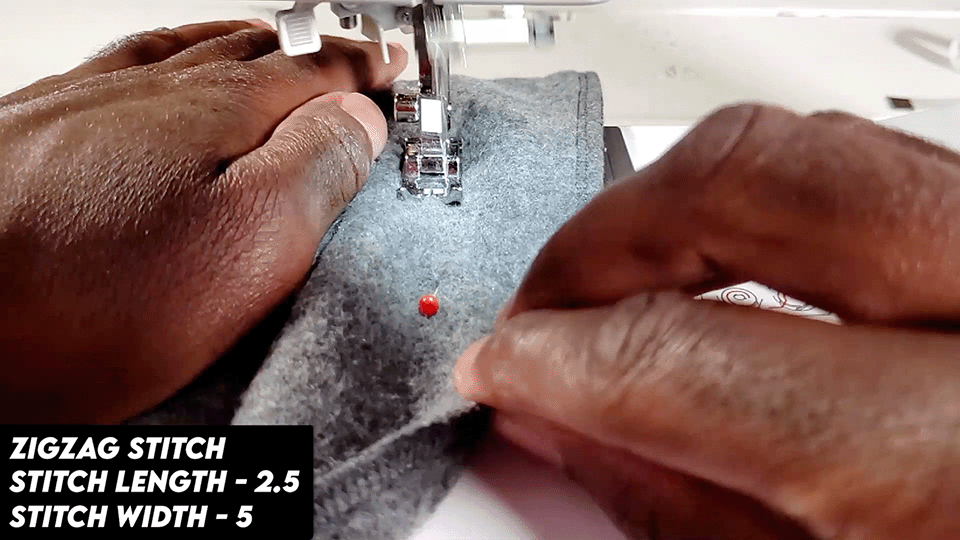
Zigzag stitch
Stitch Length: 2-3
Stitch Width: 3-5
Stitch Tension: 5-7
We’re making whats called a narrow zigzag stitch. This is similar to a straight stitch but instead of our stitch just being straight it will move from side to side making a zigzag pattern. That will give our sweatshirt some much needed stretch.
1. Lock in Your Stitch: Sew a couple of millimeters forward and then use your backstitch lever to sew backward. This locks in your stitch.
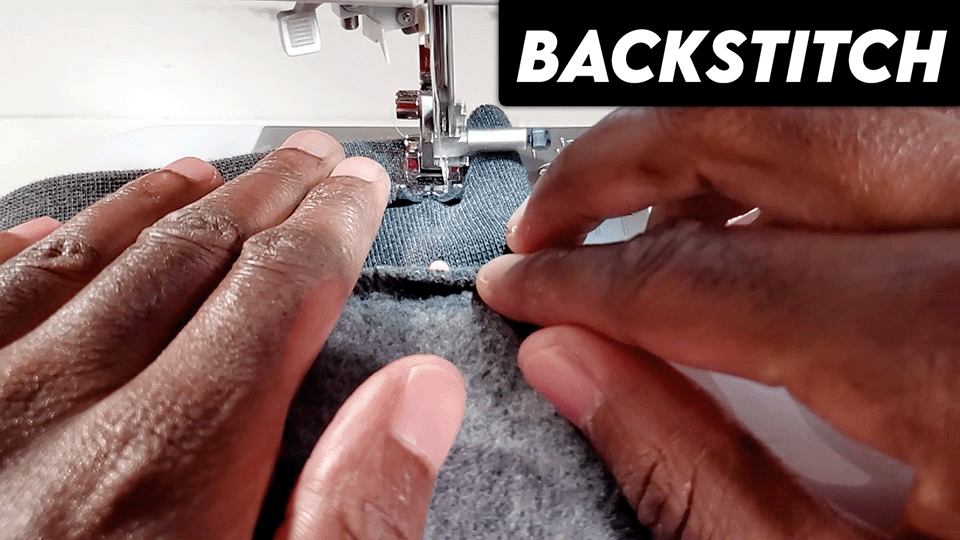
Use these settings on your sewing machine and go slow!
2. Follow the Pins: These are your guides, creating an imaginary line for you to follow. Take the pin out right before you get to it as opposed to sewing over it. Don’t ever sew over your sewing pins! Just continue all the way through the seam under your armpit.

Stitch straight on through the arm and down to the cuff.
3. Taper the Cuff: As you reach the end of the sleeve, taper your stitch line out smoothly to prevent dimples. If you’re not tapering all the way to the sleeve then end your stitch at the armpit seam and taper it out up there.

Taper your stitch back out at the cuff on your sleeve.
This side seam already looks MUCH better than the one that came with our hoodie thats for sure. It’s got a nice gradual taper to it.
Who ever thought it was a good idea to make all of them go straight up and down is an idiot…

Nice gradual taper!
Cut and Seal: Finishing Touches
After sewing, cut off the excess fabric leaving about half an inch of space between where you’re cutting and the new stitch you just made. This is called the seam allowance. This will fray, so you’ll want to seal it. Change your machine from a straight stitch to a zigzag stitch, and apply that zigzag stitch on the edge to prevent fraying. Set your stitch width setting to about 4 or 5 to adequately overlap the edge that you cut.
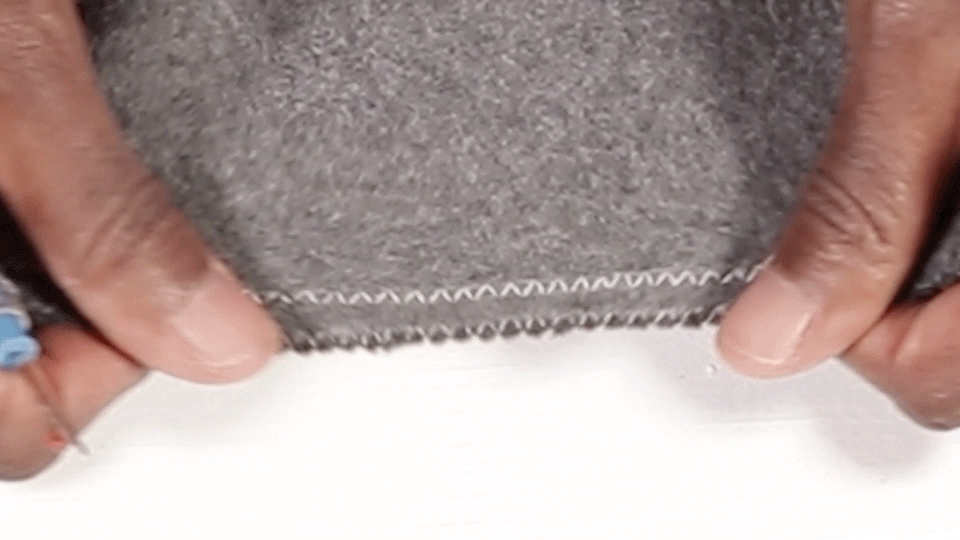
We still have elasticity and strength!
BOOM! A Nice Slim Fit Hoodie!
That's it! In about 10 minutes, you've got yourself a slim-fit hoodie that looks like it was made specifically for you.

Much better fit!
I’ll see you in the next one SD out, deuces!