
How to Shorten A T-Shirt EXACTLY Like The Pros
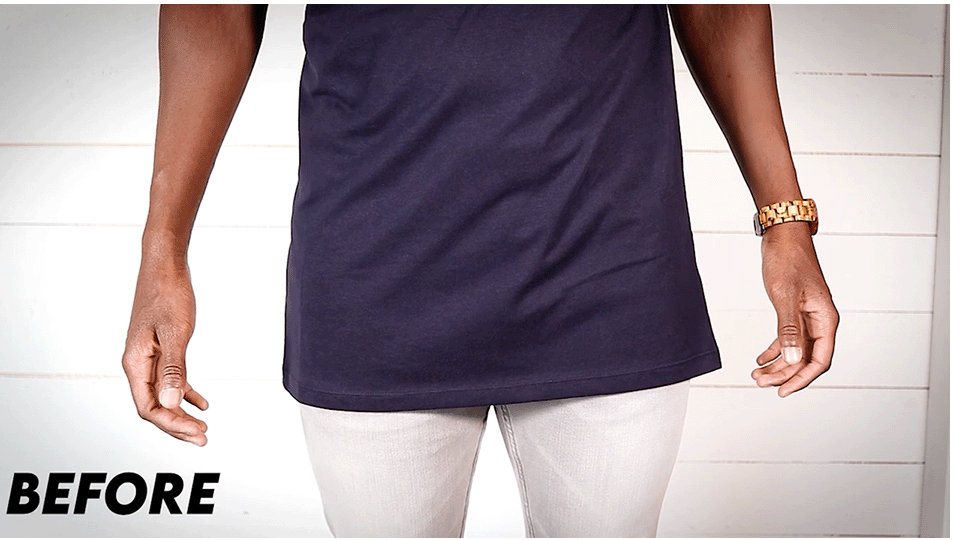
I’ve been there. A lot of us have been there. You find an awesome shirt, but the length makes you look like you're wearing a kilt (no offense to kilts of course).
I got you, because I'm gonna walk you through a quick and simple way to DIY tailor your shirt to the perfect length—and we’re keeping that factory hem. This is the same way that a professional tailor would (or should) do it for you if you were to take it to a shop. That means you’re gonna save some major coin if you have multiple shirts that need some TLC!
If you’ve never used a sewing machine no problem! It’s WAY easier than you think it is! It seems intimidating at first but thats because it can do so many different things. But if you want it make your clothes fit better, bro its easy.
WTF is this…
Things You'll Need:
- The t-shirt you want to shorten (or multiples)
- Fabric measuring tape (or a ruler)
- Sewing pins
- Sewing machine (with a zigzag stitch setting as well)
- Pinking shears (if you have them)
- An iron
The Factory Hem—Your Best Friend
First, lay your shirt right-side out on a flat surface. Take a close look at the factory hem at the bottom of the shirt. See how stretchy it is? Yeah, that elasticity is your best friend, and you'll want to keep it intact. It's what makes your t-shirt look like a normal t-shirt. You might be thinking that we can just shorten our shirt and then recreate that hem. Well sure we could, but it wouldn’t look nearly as good as the original.
Ask me how I know…
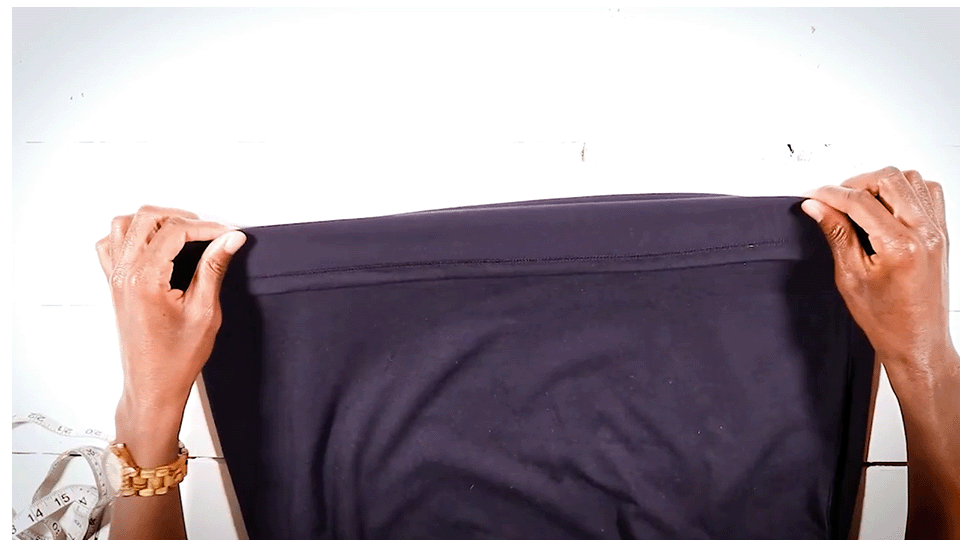
Starting with your t-shirt right-side out, take the factory hem and fold it up and back on itself, with the inside of the shirt now being exposed. This is where the body of our shirt and the hem are now going to meet.
Remember that scene in Billy Madison where he revealed the underside of his shirt and it said Karl? Kinda like that. You want that hem to hit right at that new spot.

The factory hem is nice and stretchy, we want to keep that.
Roll your shirt back up onto itself.
Measuring Time
Grab your fabric measuring tape (or ruler), and measure from the top of the hem, not the very bottom of your shirt.
I’m taking 3 inches off of my shirt, so I want to measure 1.5 inches since it will double as we’re folding the fabric in on itself. Stick a pin in there to mark your place.
Take the factory hem and fold it up and back to where you placed that sewing pin, with the inside of the shirt now being exposed. Remember that scene in Billy Madison where he revealed the underside of his shirt and it said Karl? Kinda like that. You want that hem to hit right at that new spot.

Your measurements will double since your removing fabric from both sides of your t-shirt.

Don’t start your measurement from the very bottom of your shirt!

Start your measurement from the top of your original hem.
Pin Placement and Evenness
Place more sewing pins about an inch apart all around the bottom of your shirt. Make sure your pin placement looks even and that there are no wrinkles anywhere. The wrinkle you see below if fine because my shirt is slightly pulled down, giving the appearance of a bad wrinkle. Wrinkles and sewing machines don’t mix. Again, ask me how I know…

Stitching It All Together
Head to the sewing machine and start your stitch at one of the side seams of the shirt. This is crucial: use a narrow zigzag stitch, not a straight stitch. Why? Straight stitches don’t stretch, and remember, we're trying to keep that factory hems elasticity. The zigzag stitch will give your hem some stretch. When setting up this setting on your sewing machine, set your stitch width relatively narrow on your machine. On mine I’m setting it to 3, so there is a good amount of travel from side to side but not too much. On most machines the stitch width settings are usually between 1-7. If your sewing machine can’t do a zigzag stitch you CAN use a straight stitch but it won’t be nearly as strong. Just a heads up.
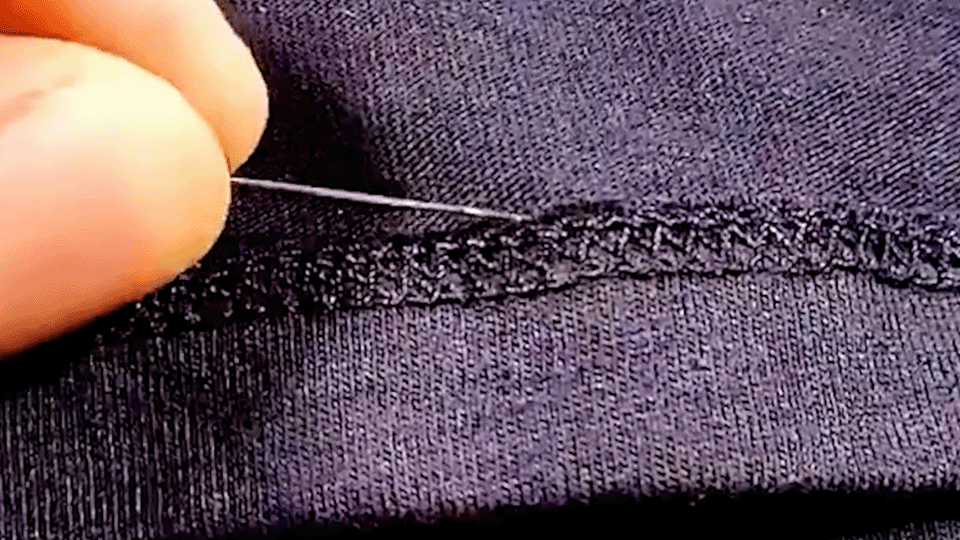
This is the spot we’re aiming for when we’re sewing.

Sew that stitch as close to the original hem as you can.
The Result—Invisible Perfection
Boom! Now, what you've got is a shirt hem that's not only shortened to your liking but still looks normal since it still has the factory hem. From the outside, it's honestly really hard to tell that you've done anything to the shirt, which is the goal.
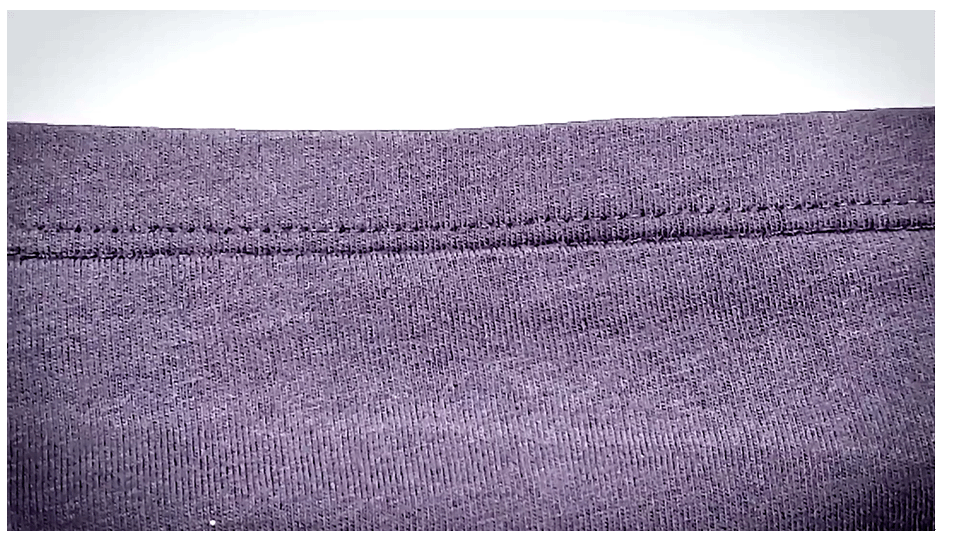
The outside of the finished t-shirt.
The Final Touch
You'll notice a flap of extra fabric on the inside of your shirt. that’s where we folded it earlier. You don't want to keep this, it looks stupid. Use pinking shears if ya have them—these are scissors that cut fabric in a zigzag pattern—to cut off the excess fabric. This pattern will help prevent your shirt from fraying over time. If you don’t have pinking shears you can cut it with regular scissors and then go over that raw edge with another zigzag stitch. This time make it wider, setting your stitch width setting to about 5. Either method is fine to be honest.

We wanna cut this off, it looks stupid and is uncomfortable.
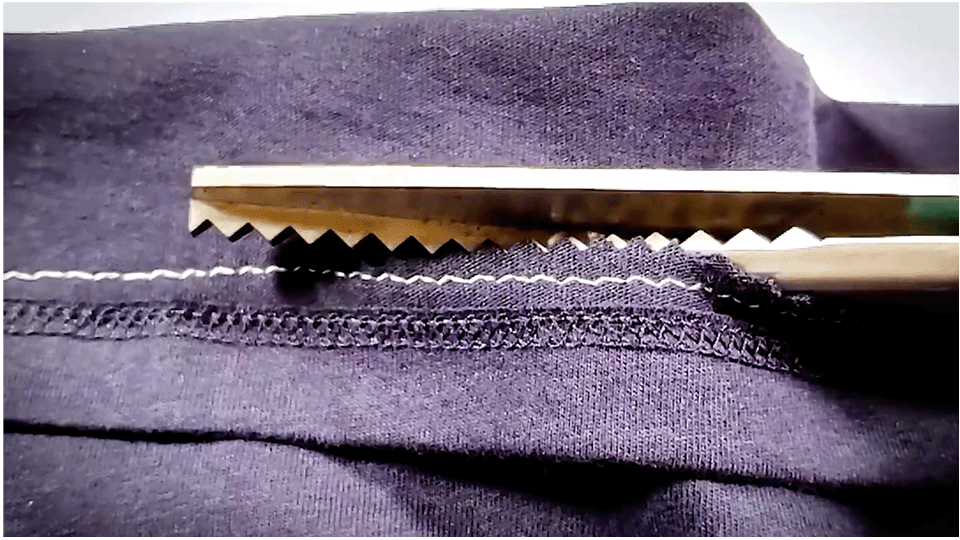
Pinking shears will do the job!
Ironing Out the Details
Give your shirt a quick run under the iron to get rid of any small wrinkles or folds. And voilà! You have a perfectly shortened t-shirt! Now go repeat this same method on all the other long t-shirts you have. SD out, deuces!

Perfect length!
Are your sleeves too droopy and loose on your t-shirt? I got you, let’s go fix them, it’s easy! I’ll see you over there, SD out SEE YA!