
Avoid These Common Dress Shirt DIY Tailoring Mistakes
Tailoring your own dress shirts is honestly one of the most game-changing style skills that any guy will learn. Nothing beats the feeling of a perfect fitting dress shirt that you got from a regular store. It’s funny because they’re the same dress shirts a lot of other people wear, but they will look absolutely amazing on you. But before you start binge tailoring every single one, I want to talk about some common rookie errors and how to avoid them. Mainly because I made most, well, all of these myself…
Don’t be me
Over-Tailoring
I totally get it dude, trust me. You learned how to DIY tailor and see those baggy dress shirts hanging in your closet and think, “I’m gonna go HAM on these things!” But here’s the thing: going overboard is a very real problem too. Tailor them too tight, and you’re in for a look that screams, "I clearly have no idea what I’m doing." You want your shirts to complement your body. You don’t want it to look like a sausage casing. When I started doing this I would be way too aggressive with my tapers and slim the waist and chest down an insane amount.

This isn’t ok…at all.
I would tailor my shirt, try it on, and it looked okish…meaning if I was standing there with my arms by my side it looked much more flattering sure. But how often do you just stand there with your arms by your side not moving? When you start living an ordinary life in that shirt you might discover that yes, it is indeed way too tight. Which leads me to the next mistake…
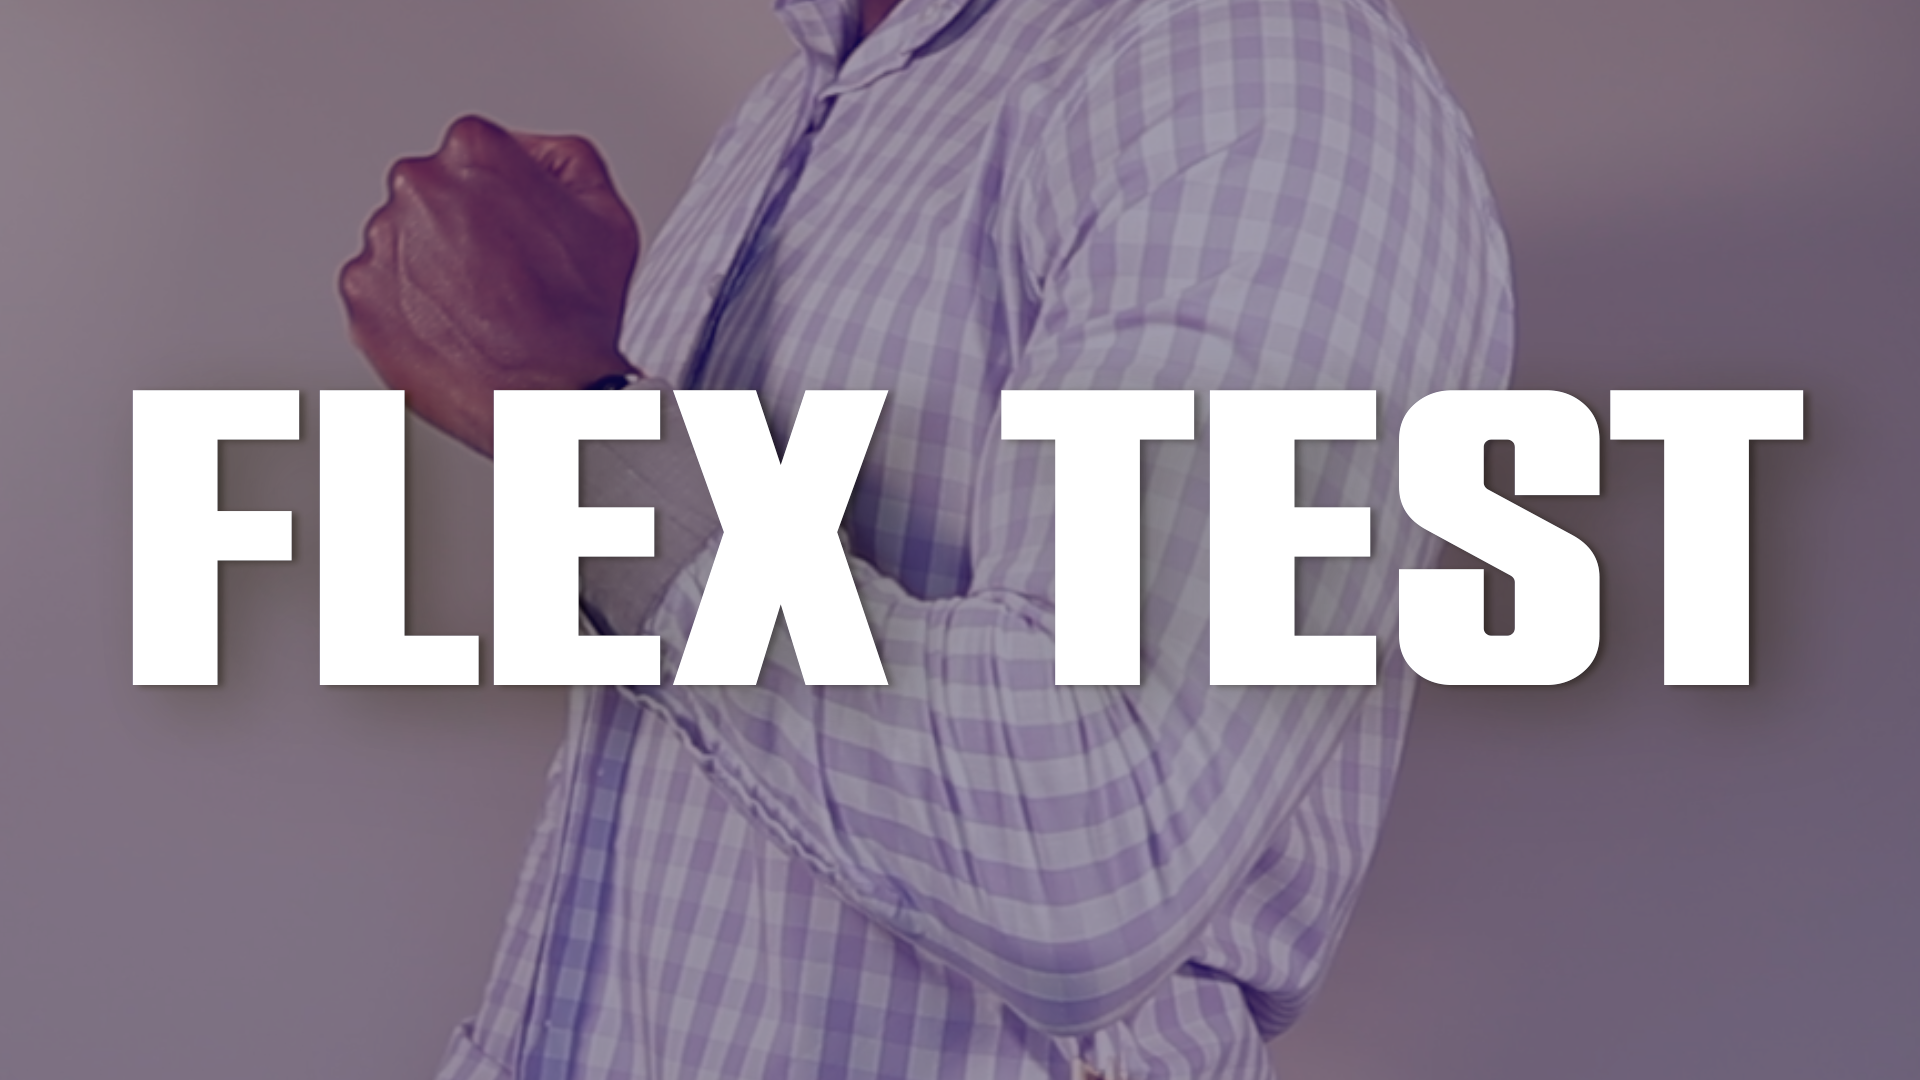
Do The Flex Test!
This is honestly one of the best ways to gauge the fit of your shirt. When trying on a shirt that you’ve measured and put sewing pins into, don’t just stand there like Lurch from The Munsters. You gotta move around, bend stretch and shake! The goal is to see if the new fit you’re going for looks good AND is functional, not just photogenic. There’s seriously no point at all in having it fit great if you can barely move in it. Or if you have to worry about one of the side seams blowing out when you reach above your head to grab something.
Ask me how I know…
Doing the Flex Test is a recommendation before you take in those sides. And It’s a MUST when you’re altering the sleeves of your dress shirt. I would even suggest doing it again after you put a new straight stitch in the sides just to make sure that it truly does fit the way you want AND it’s comfortable.
Flex those arms to make sure you’ve got good mobility!
Button Strain: You’ve been warned…
Watch out for buttons that seem to be on the verge of popping off. Thats the easiest way to tell you've gone too tight. Theres always one, RIGHT in the middle that looks like it’s holding on for dear life. I honestly struggled with this, and still do from time to time. The problem is if you lift weights and have even a decent sized chest, then good luck altering your dress shirt to fit properly everywhere else as well as your chest. It’s really hard to get that balance between the right fit in your waist and your chest at the same time. One of the best ways to deal with that stupid middle button especially is to sew an extra button on the inside of your dress shirt so you can close off that gap and reinforce it. Game-changer.
You don’t want that button to pop off in front of friends and family at Thanksgiving dinner.
Size (Really Does) Matter
Starting off with the correct size shirt for your body is crucial. You might think you can size up significantly and tailor it down to what you want, but that’s just gonna lead to huge proportion issues. Major size adjustments can throw off everything from the collar and the shoulders to the overall drape of the of your dress shirt. A general rule I like to follow is to never jump more than one or two sizes. I normally wear a large in my dress shirts. Sometimes I’ll find a banger on clearance at Target and it will be an extra large. That’s fine, because it fits into my range. But I wouldn’t do an XXL for instance, that’s way too much of a size difference.

XXL dress shirt…just no.
Starting with something thats way too big will lead to an end result that you’re not at all happy with and make you want to give up on DIY tailoring altogether. I get a lot of messages and DMs from guys who ask for tailoring help which I think is truly awesome. They will usually include pictures of what they’re trying to alter, and a common issue is trying to size their garment down way too much. Technically it can be done, sure. But I always tell them that it won’t look good and they won’t be happy in the end.
The Importance of Shoulder Fit
How the shoulders of your dress shirt fit in the beginning is non-negotiable. If the seam sits too far off your natural shoulder line, no amount of tailoring elsewhere is going to correct that. It’s a dead giveaway that the shirt was not meant for your frame. I tailored a long sleeve henley shirt many years ago for myself. Loved the color but it was an XXL. I’m normally a large. Figured I knew my way around a sewing machine so no problem right?
No.
While the side seams looked good, the shoulders seams sat ridiculously low on my arm. It looked stupid. Ideally, the shoulder seams should sit right where your shoulders naturally end. This will ensure a nice clean look that looks much better.

Good looking shoulder seam!
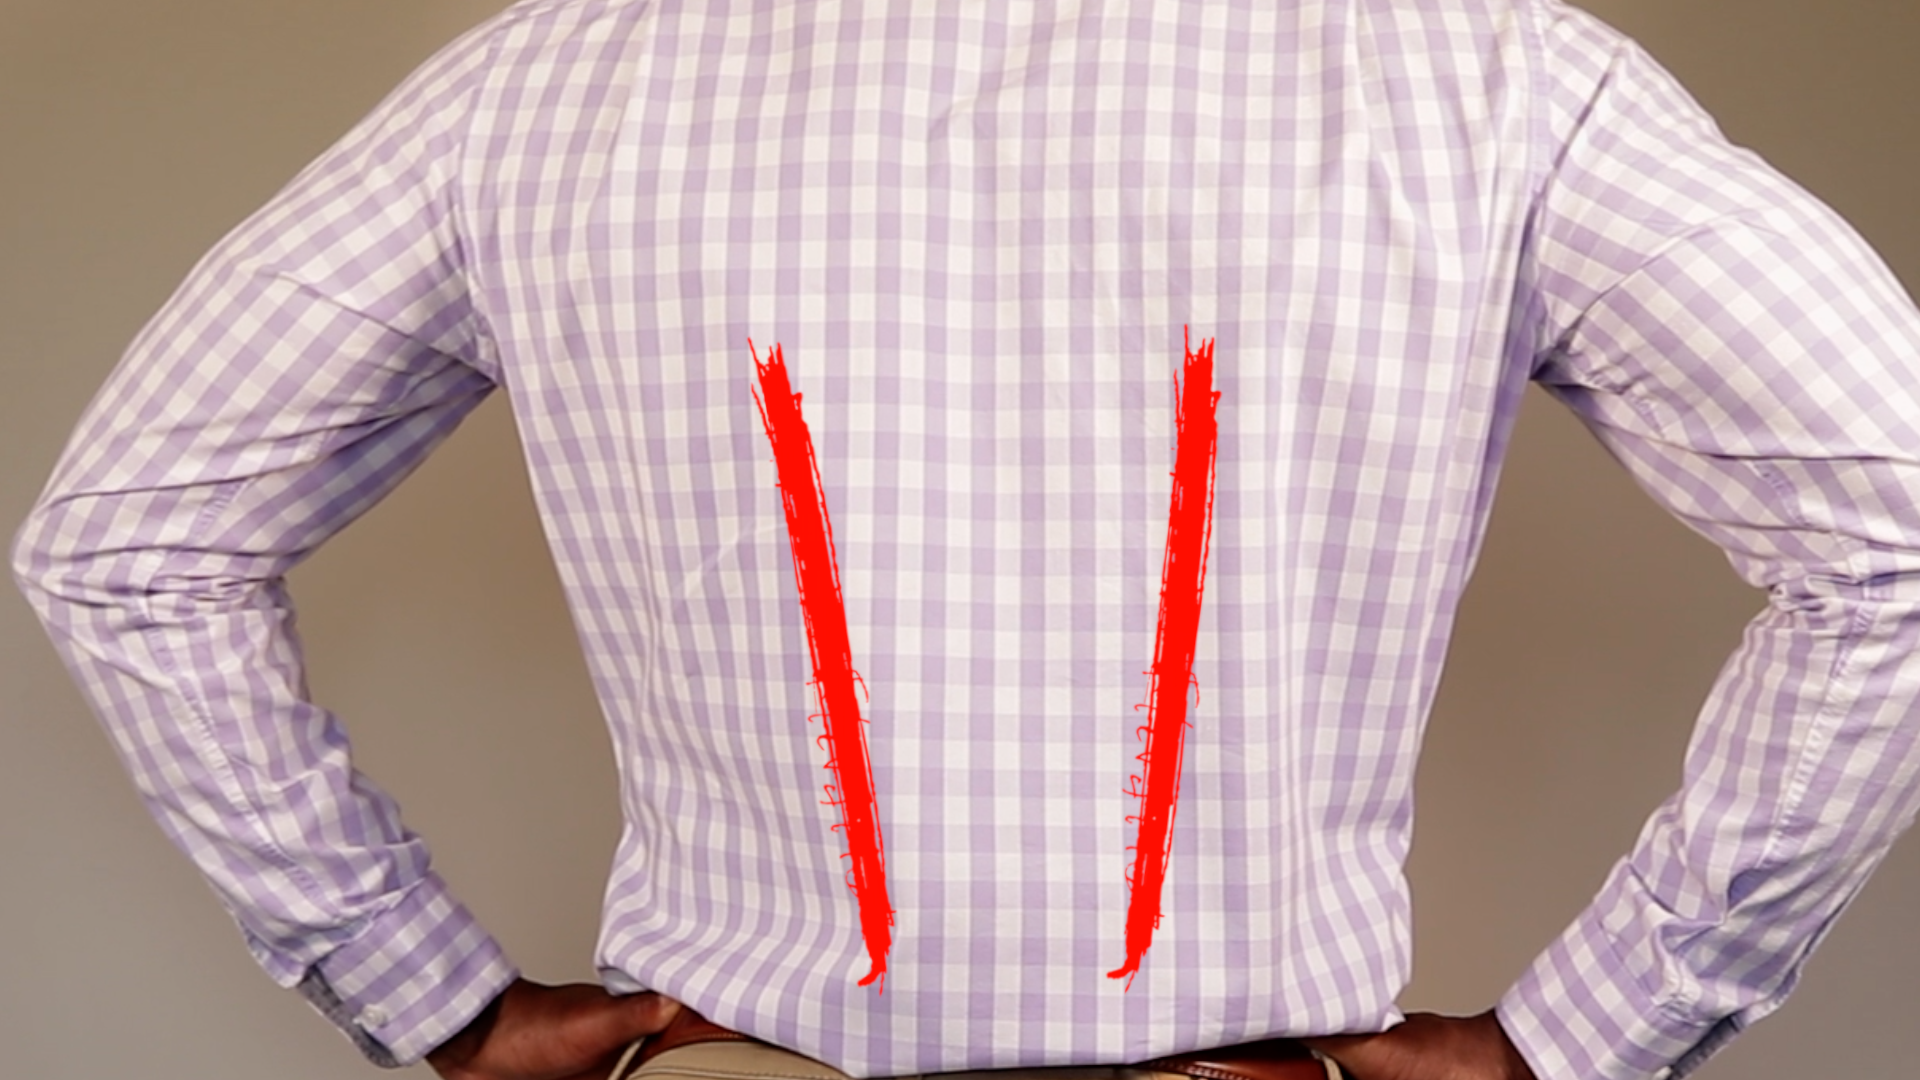
Darts Will Be Your Best Friend
Adding darts to a dress shirt will straight up transform the worst of the worst when it comes to bad fitting dress shirts. They're really good at pulling in the fabric at your lower back, fixing that billowy muffin top look.
When you tailor a dress shirt, what you’re trying to do is solve a 3 dimensional problem with a 2 dimensional solution. Taking in the sides will make the sides look great, but rarely does much for the fit on your lower back. Now you CAN take in the sides so much that it fixes the fit down there, but its so aggressive that it makes the entire shirt way too tight. I suggest attacking the sides AND adding darts. I add darts to pretty much all of my dress shirts because I love the results so much.
Start off with slimming the sides, and when you do be mindful that since you’re adding darts you don’t want (or need) to be as aggressive with taking off a lot. Darts will add that final piece to a banging dress shirt.
Since you’re probably completely new to darts they might seem intimidating, but they’re honestly not. I made a tutorial on them thats as easy and straight-forward to follow as all of my other tutorials. It also includes taking in the sides to you can see how to balance between the two.
Darts will make this WAY better!
Tools of the Trade
Good tools can make a big difference in the results that you get. That doesn’t mean you need expensive tools at all, it just means you need the right ones. Get yourself a decent used $50 sewing machine, sharp scissors, sewing pins, and a proper fabric measuring tape. These essentials will make DIY tailoring so much easier and your alterations look WAY better.
For a sewing machine you don’t need anything too expensive at all. I always suggest searching for a used sewing machine on Facebook Marketplace or anywhere else you can find a solid used one. As far as how much you should pay, shoot for between $50-$90 is pretty good.
Anything below that is going to be a machine that isn’t very powerful. You’ll see mini sewing machines in that price range and for like $30 more you can get a full sized machine. Anything above the $100-$200 range is going to be over-kill for what you will use it for.
There are some great machines like Janome and Bernina that have a lot of great features. But as mentioned before, at the end of the day you want a sewing machine that can make a straight stitch, a zigzag stitch, and a back stitch. And any sewing machine made since The Great Depression can do that (usually).
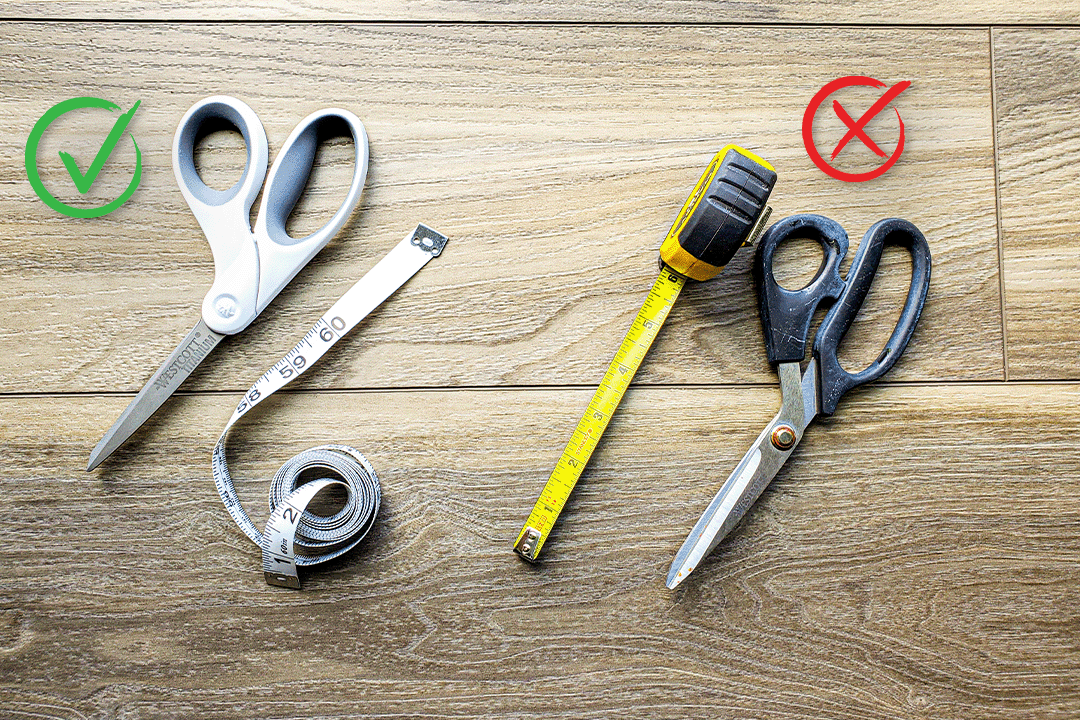
For your tools, don’t go digging in your utility drawer for some random scissors. Get dedicated scissors and ONLY use them for your tailoring projects. Nothing else. You’ll also want to use a fabric measuring tape as opposed to something like a construction measuring tape. I will work in a pinch but if you want to get consistently good results then use the right tools.
Oh and don’t forget a seam ripper—mistakes happen. A lot.

Learning from Your (Inevitable) Mistakes
Everyone makes mistakes. I still make mistakes. The only people that don’t are the ones who never even attempt to DIY tailor. The key is to LEARN from those mistakes. Start with shirts you’re less attached to. Or better yet, go and buy a king sized flat bed sheet and practice making straight stitches and zigzag stitches on there. You can get all of this down in a weekend. I’m not exaggerating. And once you have your stitches down then dive into your dress shirts.
Heres the thing, you’re pretty much guaranteed to mess up the first few. But nothing is final until you start cutting. If you take in the side seams and then try it on only to realize it’s too tight in certain areas its not the end of the world. Thats where the seam ripper we mentioned comes into play. All you have to do is take out that stitch and in a few minutes it’s like it never happened. Again, NOTHING is final until you start cutting.
Over time (probably by Sunday night if you start on a Friday evening), you'll gain a ton of confidence and skills that will not only make the process much faster, but mistakes won’t really bother you at all because you know how to fix them.
Good luck not getting addicted to DIY tailoring. You think I’m kidding.