
How To Use A Sewing Machine To Make Your Clothes Look Expensive
Using a $50 used sewing machine, you can alter every piece of clothing you own and make it fit you perfectly. That’s right, everything.
I’ll be honest—I’m no tailor or seamstress. I was just a dude fed up with crappy fitting clothes. I started taking some of my nicer garments to a tailor and the results were great, but expensive. Not only that, I wanted ALL my clothes to fit better, not just my “nice fancy” clothes.
So, I decided to get a sewing machine and figure it out. And let me tell you, if I can do it, so can you.
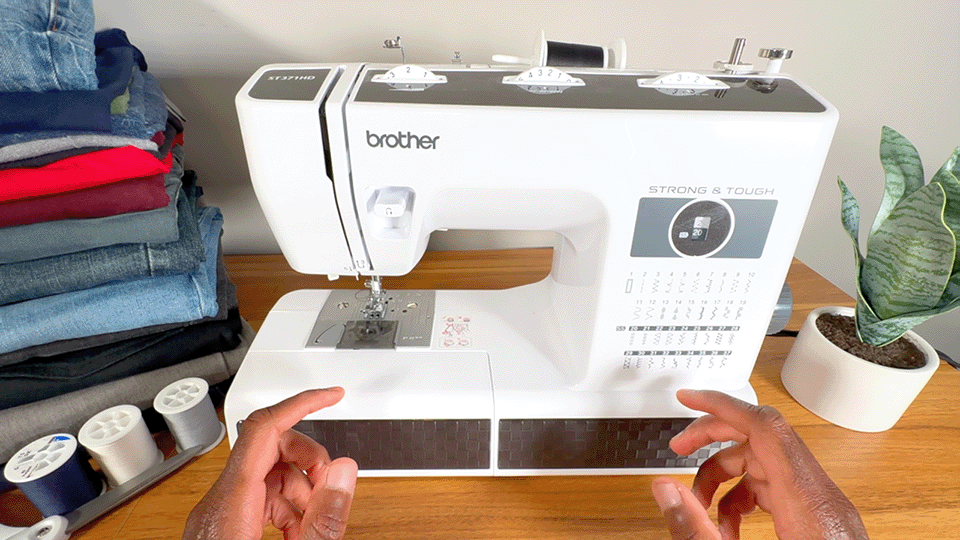
My Brother ST371 HD sewing machine. I love it, but it’s complete overkill for beginners.
If you’re like me and totally over clothes that just don’t fit right, I’ll show you how to use a sewing machine. Like…what to ACTUALLY use. I say that because sewing machines can do a ton of different things. Because of that they can be intimidating. But since we aren’t making quilts or curtains here (no offense to those who are), we only need to learn a few settings.
So, it isn’t going to be very difficult at all.

This dress shirt looks ridiculous…so does my face.
Starting up top, you’ve got your spool of thread sitting on a stick. It has one job and one job only, to hold whatever color thread you’re using to DIY tailor. That’s it.
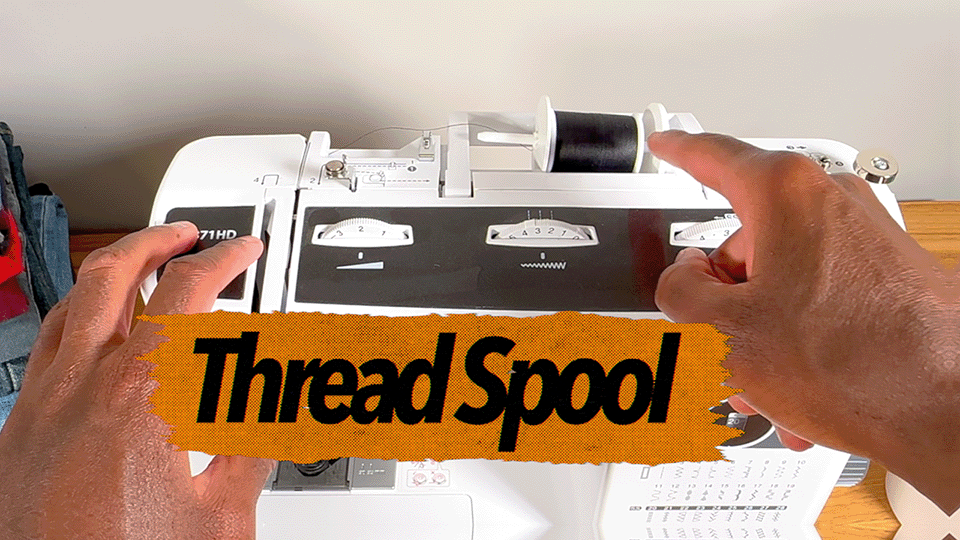
This has one job, hold your spool of thread.
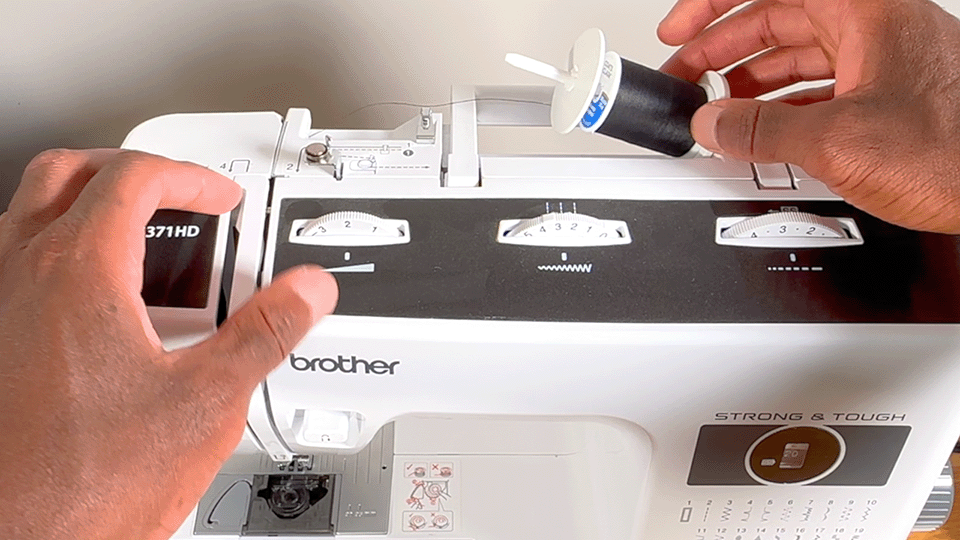
Up top you also have whats called a bobbin winder. What’s cool about it is you’ll hardly use it that much. I’ll explain why in a minute.

My finger has touched this maybe 12 times in 2 years.
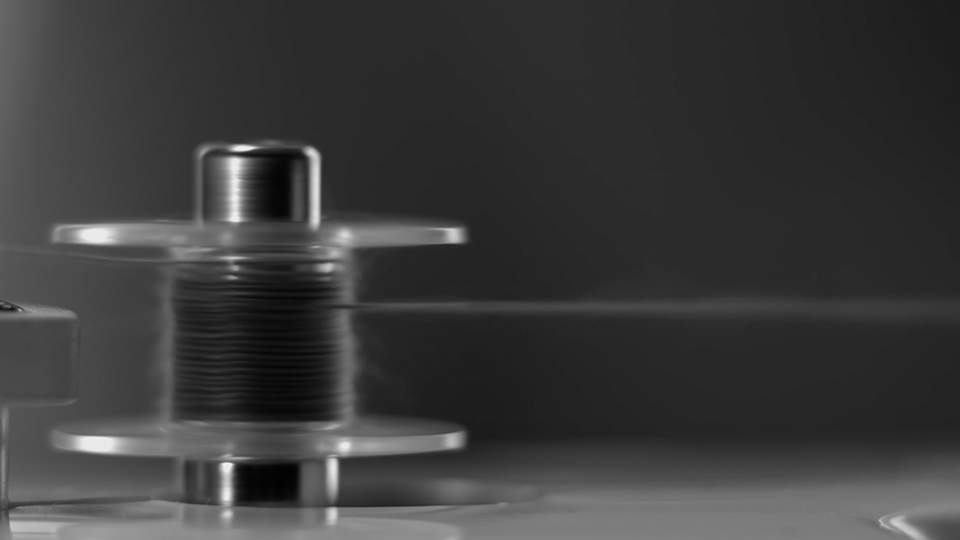
Your bobbin is that small spool of thread that goes in the bottom of your sewing machine and makes up the bottom part of your stitch. Your bobbin winder is what creates a bobbin for you. A single bobbin will last a surprisingly long time. For instance you might tailor seven dress shirts and two pairs of jeans before you even need to think about creating a new one.

This bobbin of thread will last you longer than you think.
So, when you’re not winding a bobbin, just pretend it’s not there. But when you do need to use it, put an empty bobbin on it and thread your thread from your spool through the little hole on top. Push it to the right (yes it moves) and press your gas pedal. You’ll see the thread start to spin around it. When you’re done remove the bobbin, put in the bobbin holder at the bottom of your machine (some are top-loading and some are side-loading).
Also, be sure to push your bobbin winder back to the left, otherwise your sewing machine won’t sew, it will keep spinning the bobbin winder. Kinda like keeping your car in neutral when you want to start driving.
Look at that magic happening before our eyes!

It’s pushed to the right, so it will spin whereas my needle won’t do anything. It’s kinda like a clutch.
This is one of those steps that intimidate people about learning how to use a sewing machine. Almost everyone tells me this is what they don’t understand.
“How do you get that thread from the spool down to the needle?”
Well it’s funny because most manufactures made it stupid easy to figure out. Like, it’s kinda comical really.
How we do it though…
Most machines have diagrams and numbers that guide you on threading from the spool right down to the needle. Its seriously a 1-2-3 then 4 step process. Not only do the numbers obviously go in order, but those diagrams give you a good idea on what to do with the thread. If one of the steps has multiple options, both are listed. Like here it shows you how to thread it down to the needle, as well as threading it back towards your bobbin winder to make a bobbin.
Here you need to loop it up under that little crevasse you see, then go back up. Once you’re at step 5 you just thread it down through your needle.
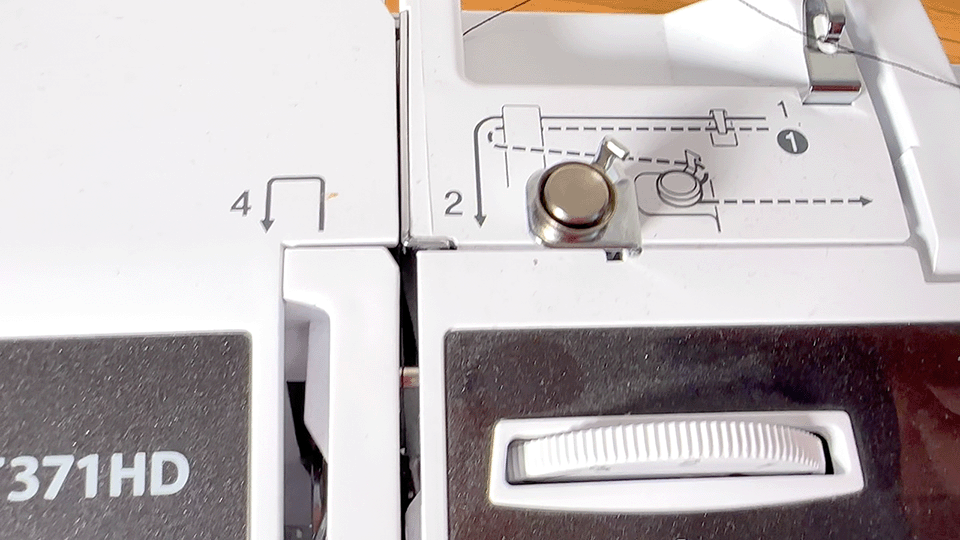
There’s literally pictures showing you what to do.

Just keep on following them.
Here’s where sewing gets real: every machine made in the last 150 years or so essentially works the same. It asks you three main questions: what stitch type do you wanna make, how long do you want that stitch be, and how wide do you want that stitch to be?

Sometimes 4, but it depends on if it’s the weekend or not.
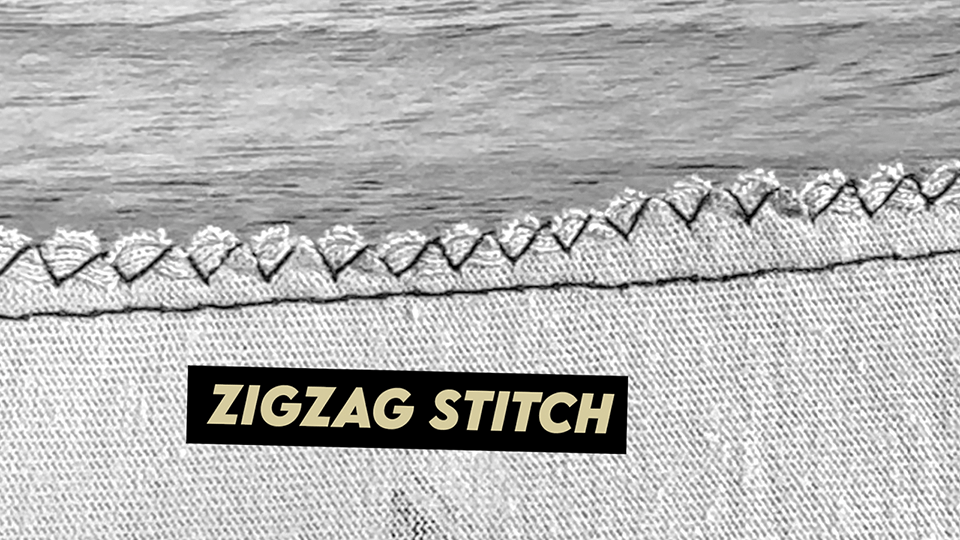
For your DIY tailoring projects, you’ll use a straight stitch to create a new slimmer and more tapered side seam on your garment, and then a zigzag stitch to keep edges from fraying after you cut off the extra fabric.
That’s it. Those two.
The other hieroglyphics you see are either variations of those that you don’t need or completely different stitches used for decorative projects like quilting.

Most of these mean nothing to us. We only use two.
This is a new more fitted straight stitch that I put on this t-shirt. Since I cut off the extra fabric I want to use a zigzag stitch to overlap that to prevent fraying.

Looks better but this raw edge will fray on us.
That’s…honestly using a sewing machine to DIY tailor in a nutshell. Well, mostly.
Finish that bad boy off
The stitch length dial has some numbers on it, usually 1-4. The numbers mean how many millimeters each individual stitch is gonna be when sewing. Setting the stitch length to 2.5 millimeters gives you that professional look, like what you’d find on store-bought clothes. The other settings have their roles but for 90% of your projects you’re gonna leave the stitch length at 2.5.

Straight stitch dial
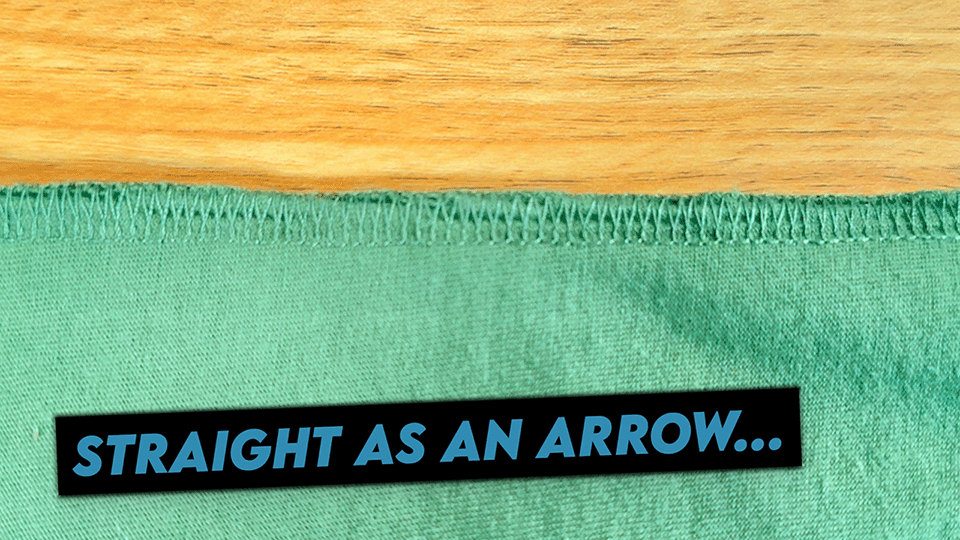
This is what the side seam looks like on your store-bought clothes. They use a different method to seal off the edges which we wont get into.
The problem though is it’s STUPIDLY straight. It looks ridiculous.
Ughhh…
If you’re doing a zigzag stitch, adjusting the stitch width controls how much the needle moves side to side, locking in your fabric edges neatly. Most machines go from 0-7.
Another thing that can trip beginners up is thinking they need to worry about the settings every single time. Well, you don’t. Thats because, for instance, with the stitch width its completely NA when you’re sewing a straight stitch. Your needle isn’t moving from side to side at all when you’re doing so.
So it doesn’t matter. Easy huh?
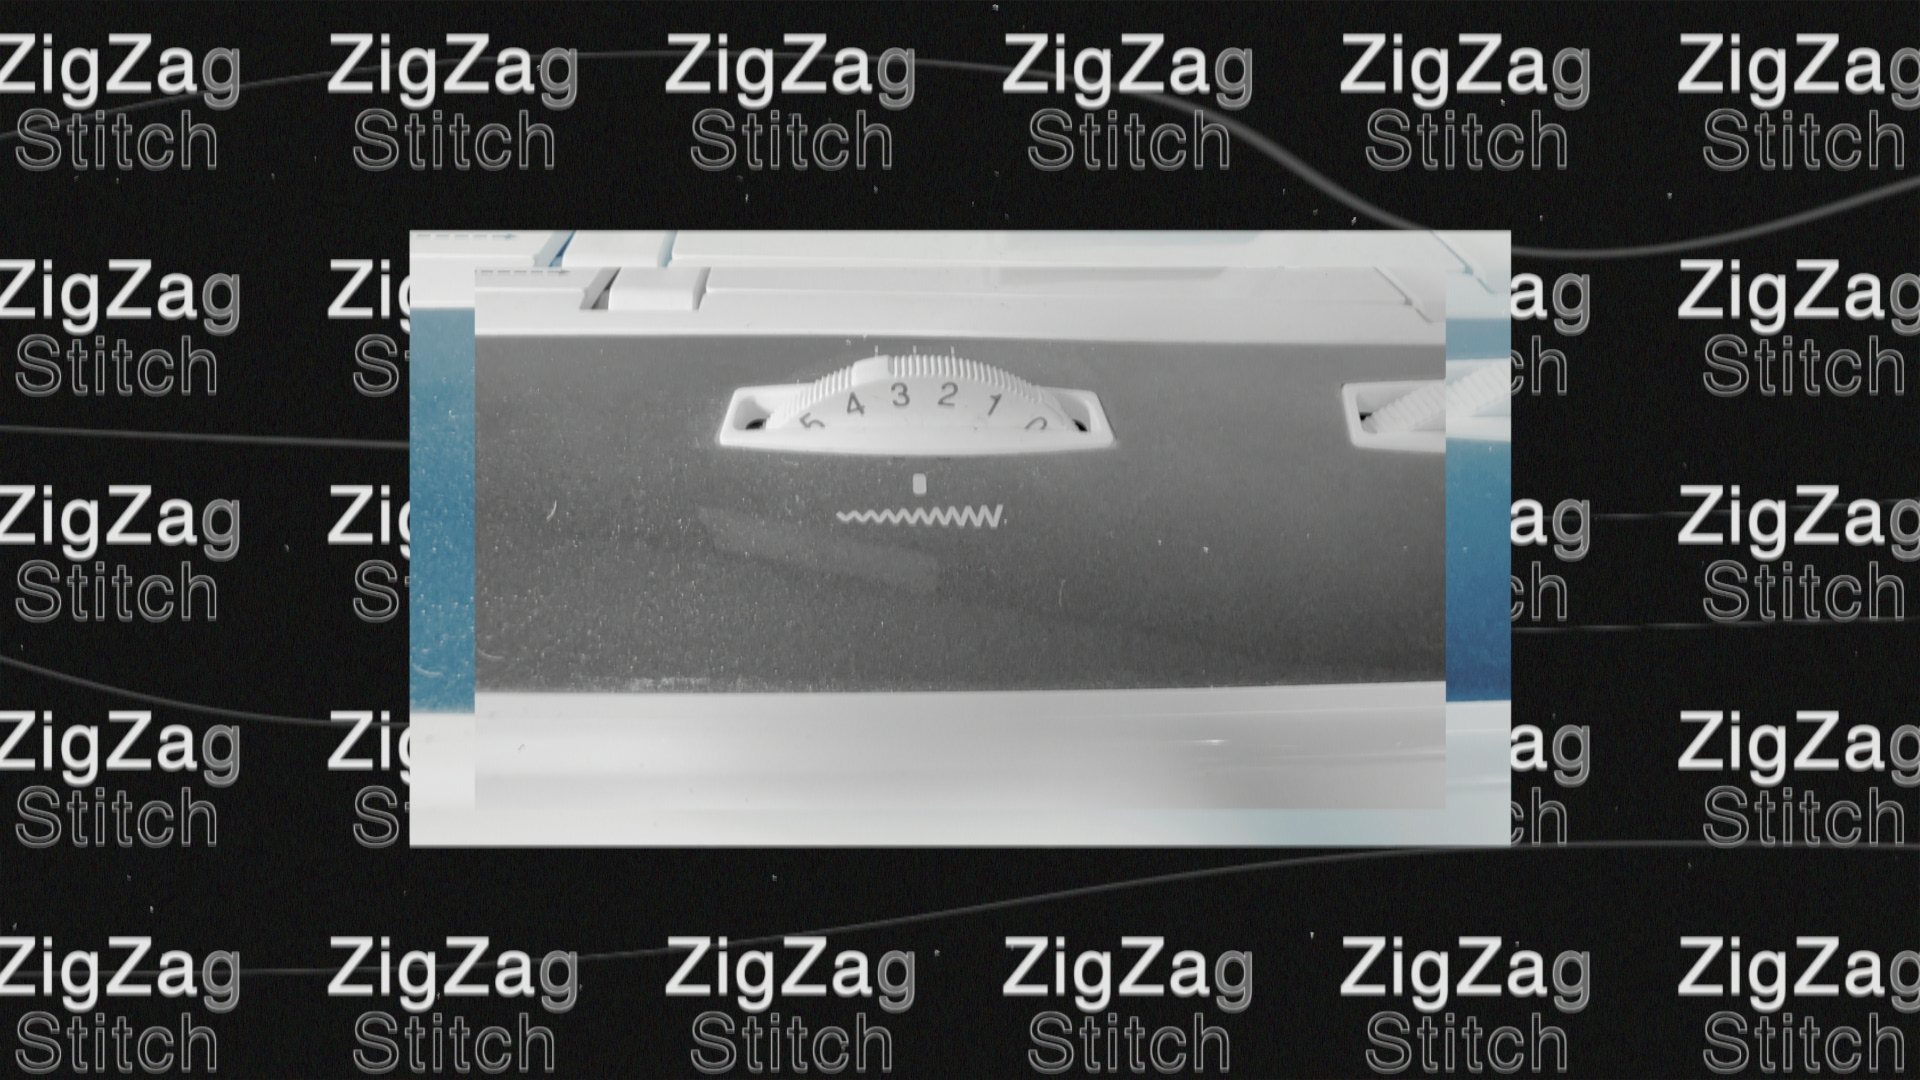
Stitch width dial setting.
The last stitch you will use is called a back-stitch, and it isn’t even really a “stitch” at all. Theres a button or a lever on your machine that you want to press and hold at the beginning and end of any sewing project.
What thats gonna do is reverse the direction of the machine, sewing back over what you just did and locking your stitch in place. Once you let go it will continue sewing forward like your machine normally does.

Remember, press AND hold to use it.
This is where all the action happens! Where your clothes will go from crappy to fitted in like 20 seconds per side seam. line your garment underneath the presser foot. That’s the little plate/fork looking thing by your needle.

Your machine comes with a presser foot, it’s a universal presser foot.
The “gas pedal” is touch sensitive like in a car, so you can sew as slow or as fast as you feel comfortable. As you’re sewing you aren’t forcing the fabric through your machine either, your just guiding it with your hands. The machine does all the work for you, your hards are just there to tell it where to go.

Guide it don’t push it, the feed dogs will pull it through.
That’s…mostly it honestly. Yes there are things like your needle and different presser feet and thread and such, but as far as the settings go and the initial set up there isn’t much more to it!
Practice and get familiar with your specific machine and letting it do the heavy lifting while you guide. Over the course of a weekend (I’m not kidding) you will go from a complete rookie to having the general process down! Bro let’s go!