5 Straight Stitch Mistakes Beginners Make (And How to Fix Them)
You can take a $40 used sewing machine and make everything in your closet fit you perfectly. Literally everything.
When you do so you’re going to use whats called a straight stitch. And it’s actually super easy to do.
Slimming the sides on a baggy T-shirt? Straight stitch.
Slimming the sides of a dress shirt? Straight stitch.
Tapering a pair of chinos? I’ll give you one guess.
Hemming jeans? You already know where this is going.
Now don’t let the word straight confuse you, it doesn’t have to be perfectly straight. In fact it rarely ever will be. That’s the problem we’re trying to fix any way. Your t-shirt that you bought has side seams that go straight up and down. We want to give it a nice gradual taper to make it not fit us like a bedsheet.
The straight stitch looks ridiculously simple. It looks that way because it is. But there’s some mistakes you can make as a beginner that most people don’t warn you about.
Luckily most beginner straight stitch mistakes aren’t complicated or a huge deal at all. Usually it’s one small stupid thing you’re doing without realizing it.
So if you’re trying to make your clothes fit you better and your stitches are coming out janky looking, check these five things before you start blaming yourself or threatening your sewing machine.
Mistake #1: Forgetting to Lower the Presser Foot
This one is so damn easy to do when you’re brand new. It’s easy to do when you’ve been doing this forever too.
You put your shirt under the sewing machine.
Line everything up.
Get hyped up.
Hit the pedal.
And just like that nothings moving and there’s a giant wad of thread underneath your shirt.
Beautiful.
You’ve created a tiny bird’s nest underneath your garment. Before assuming you somehow destroyed the sewing machine 11 minutes after buying it, look at your presser foot.
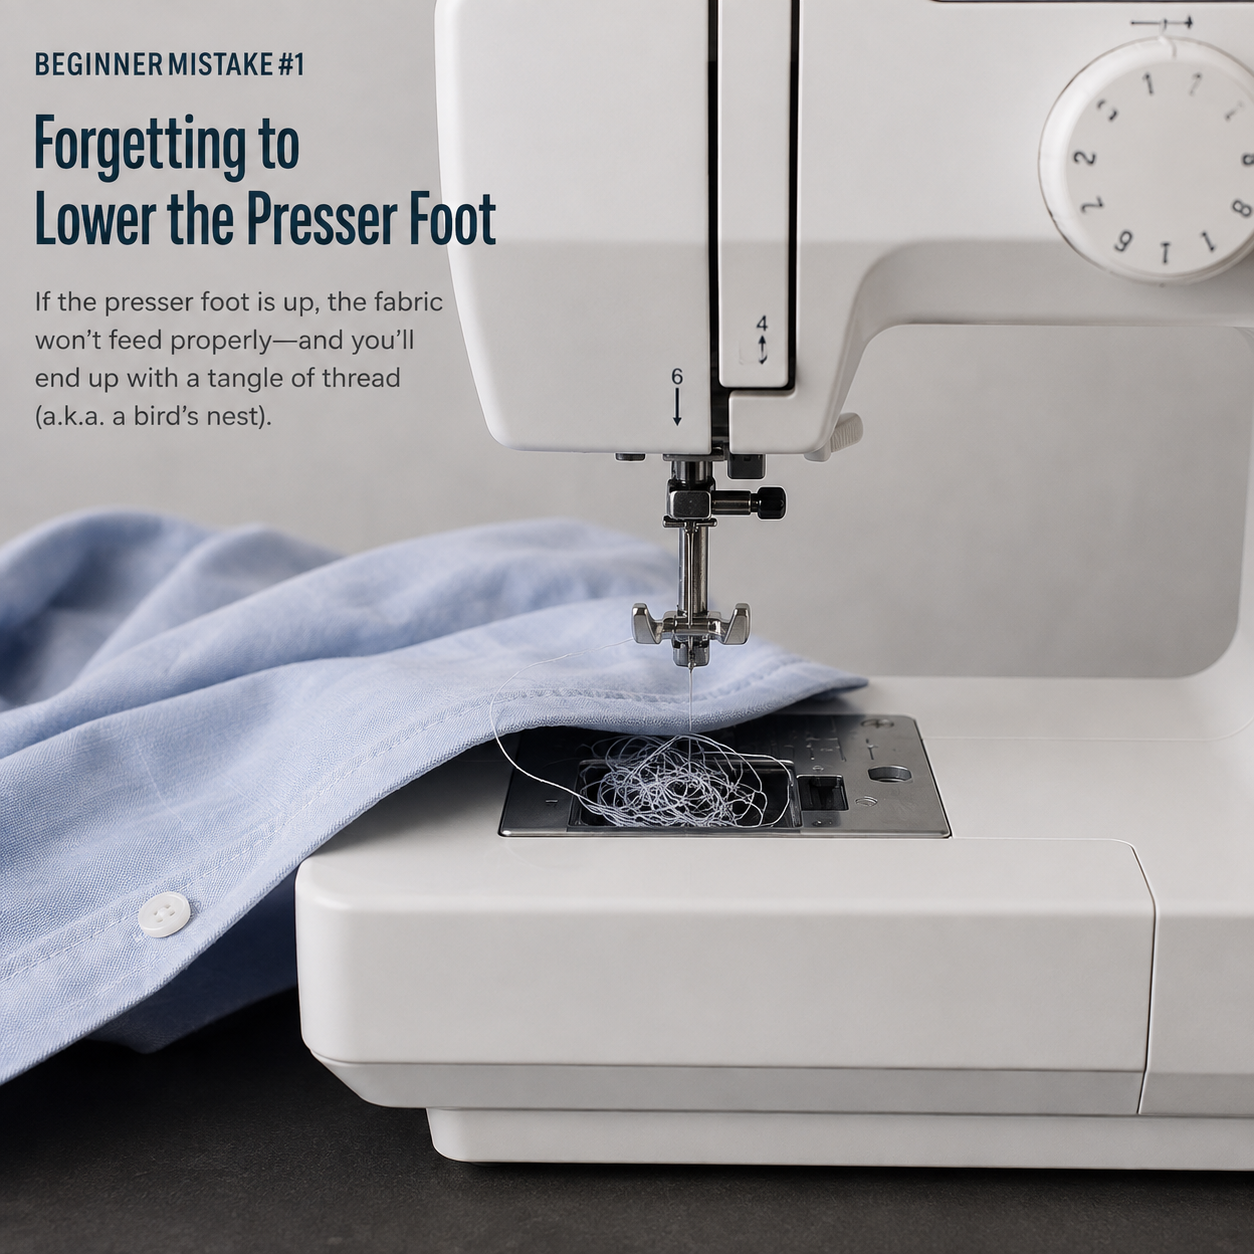
That’s the little metal piece sitting directly above your fabric. It looks like a plate/fork combo. Before you start sewing anything, it needs to be down. Every time.
The presser foot holds your fabric down and prevent it from getting all shifty on you while the feed dogs underneath (those teeth looking things) move the fabric forward.
If that foot isn’t holding everything down properly, the machine can’t control the fabric, and if it can’t do that then the fabric just…sits there staring at you.
The Easy Rule to Remember
Before you hit the pedal:
Fabric under the needle
Presser foot down
Then sew
That’s it.
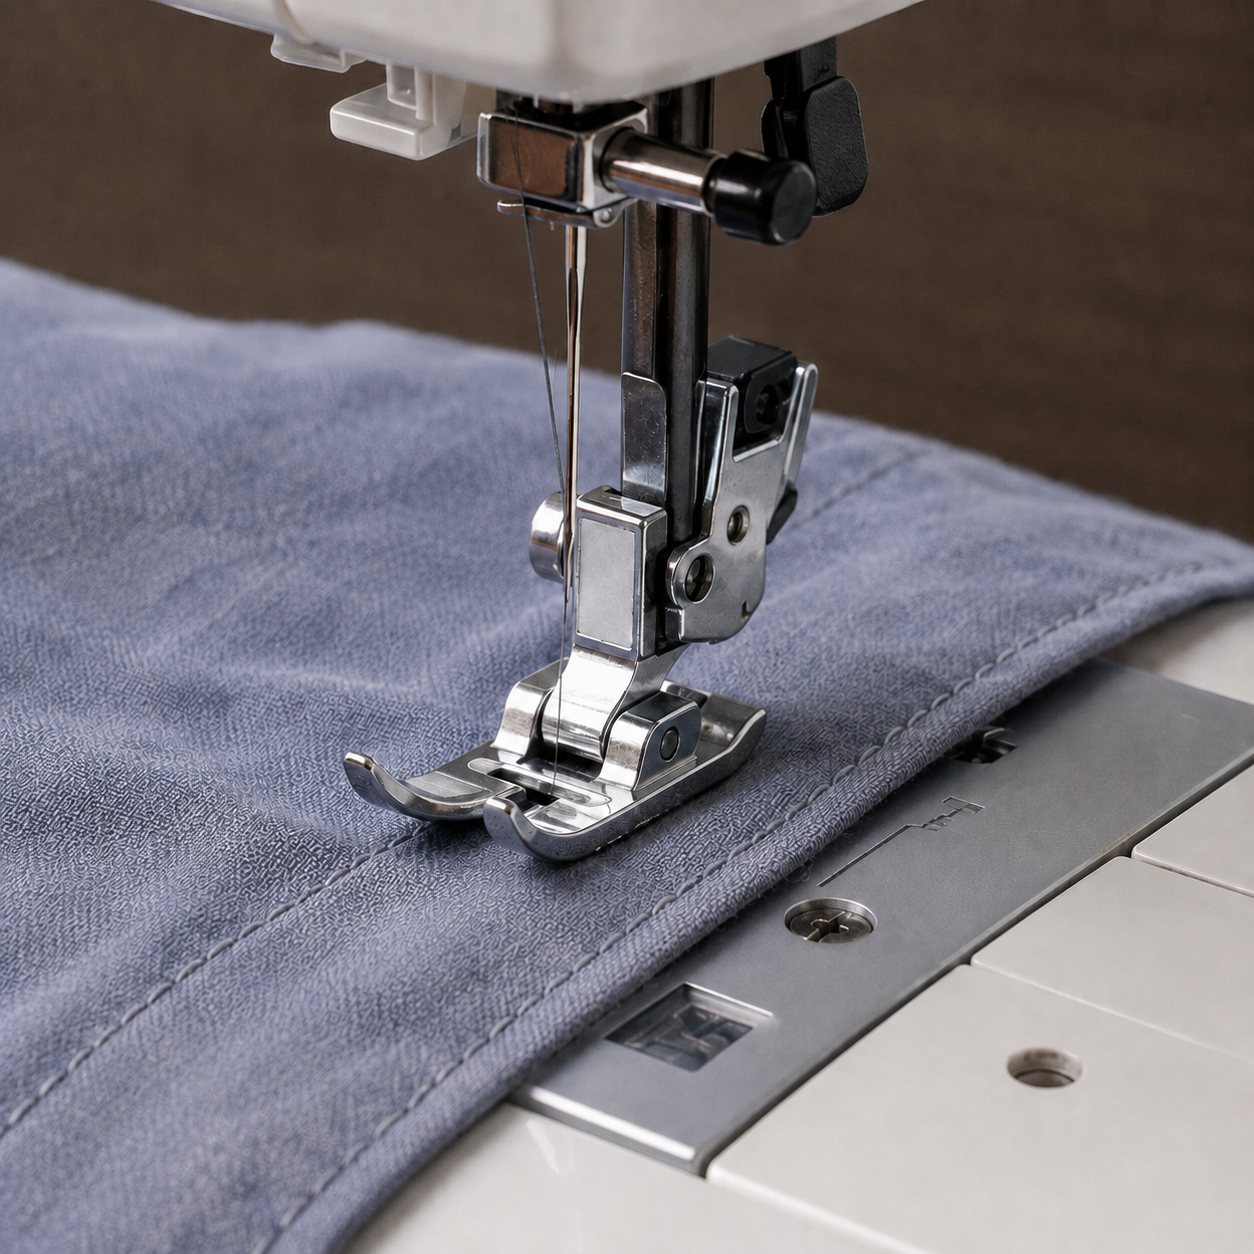
If you’ve already created a giant mess of thread underneath your garment, don’t panic it’s all good. You didn’t ruin anything at all.
Raise the needle (manually if you have to using the hand wheel), lift the presser foot, carefully take the fabric and cut away the tangled mess you have going on.
Then rethread the machine, put everything back underneath the foot and have at it.
Your sewing machine isn’t broken. It’s just angry with you.
Mistake #2: Pushing or Pulling the Fabric
This is probably the most common beginner mistake because it feels like you’re supposed to help the machine. I’m still guilty of this myself.
You see the garment you’re tailoring moving through the sewing machine, so you start pushing it from the front. Or pulling it from behind. Just trying to be helpful right?
Don’t.
Your sewing machine has little metal teeth underneath the presser foot called feed dogs.
Their only job is moving the fabric through the machine at the correct speed. You don’t have to do that part.
Your job is basically steering and controlling where it goes.
Keep the fabric going in the right direction and let the machine control how quickly it moves.
If you start pulling the fabric from behind, you can stretch the seam which can make it look all warped and wavy when you’re finished sewing that straight stitch.
Push too much from the front and the fabric can start getting all bunched up. Your sewing machine will start making angry sewing machine noises, and you don’t want none of that.
What Your Hands Should Actually Do
Keep your hands relaxed.
Just lightly guide the fabric on either side of the sewing area, but you’re not trying to literally shove the garment underneath there at all.
Think:
Guide. Don’t force.
That’s important when you’re tailoring your clothes because you’re often dealing with weird shapes and angles. Add to that thick seams and layers of fabric like when hemming jeans.
Sometimes the fabric wants to wander a little. Hell sometimes it will do so even if you try and stop it.
Don’t freak out when that happens. Don’t jerk the garment back into place. Just make small adjustments and keep guiding it back on track.
You don’t need to manhandle the shirt like it owes you money.
Mistake #3: Watching the Needle Instead of Your Seam Guide
This is a sneaky one because you’re trying to sew straight.
So naturally, you stare directly at the needle.
Makes sense.
Except the needle isn’t going anywhere. It’s bouncing up and down in basically the same spot the whole time.
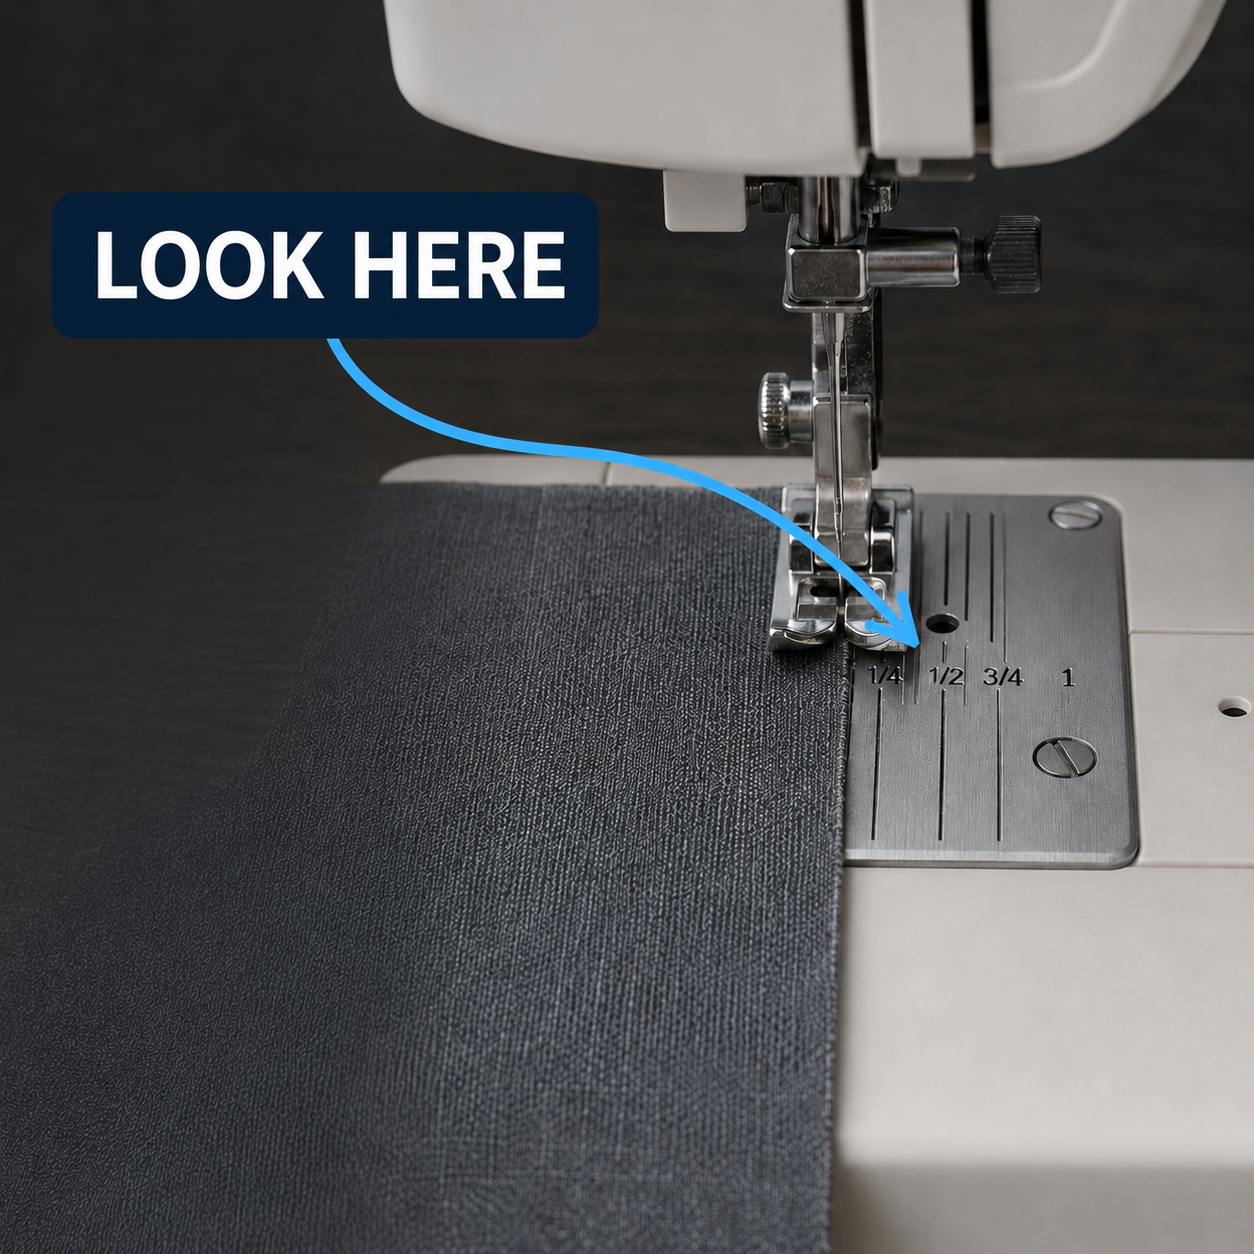
Meanwhile, the thing that’s actually moving is your garment. That’s what you need to watch. Look at the metal plate underneath your presser foot.
You’ll usually see lines or measurement markings running along it.
Those are your seam guides.
They’re there to help you sew a consistent distance from the edge of the fabric.
Let’s say you’re trying to sew a seam about half an inch from the edge. And most importantly you want that seam to be as straight as possible.
Instead of staring at the needle and trying to eyeball a perfectly straight line, line the edge of your fabric up with the half-inch seam guide.
Now keep your eye on that.
Fabric edge → guide line.
As the fabric moves through the machine, keep those two things lined up.
Suddenly sewing straight is stupid easy.
You have to Give Yourself Something to Follow
If you’re really new, you can make this even easier.
Grab:
Scrap fabric
An old shirt
Something from the back of your closet that has already disappointed you for years.
Draw a few straight lines on it with tailor’s chalk or a washable fabric marker. Hell even a Sharpie works.
Then practice sewing directly beside or on those lines.
Don’t worry about tailoring anything yet. You’re just teaching your eyes and hands how the machine moves your clothes.
After a few runs, that weird disconnected feeling starts going away.
You’ll stop thinking:
Okay… needle… fabric… pedal… hands… OH GOD.
And you’ll just…sew.
Mistake #4: Forgetting to Backstitch
You finally sew a nice new tapered straight stitch on your dress shirt.
Looks fitted and you’re feeling great.
Then one day the stitches at the end start pulling apart. Not right away, but over time.
That’s because you need to lock the seam when you start sewing.
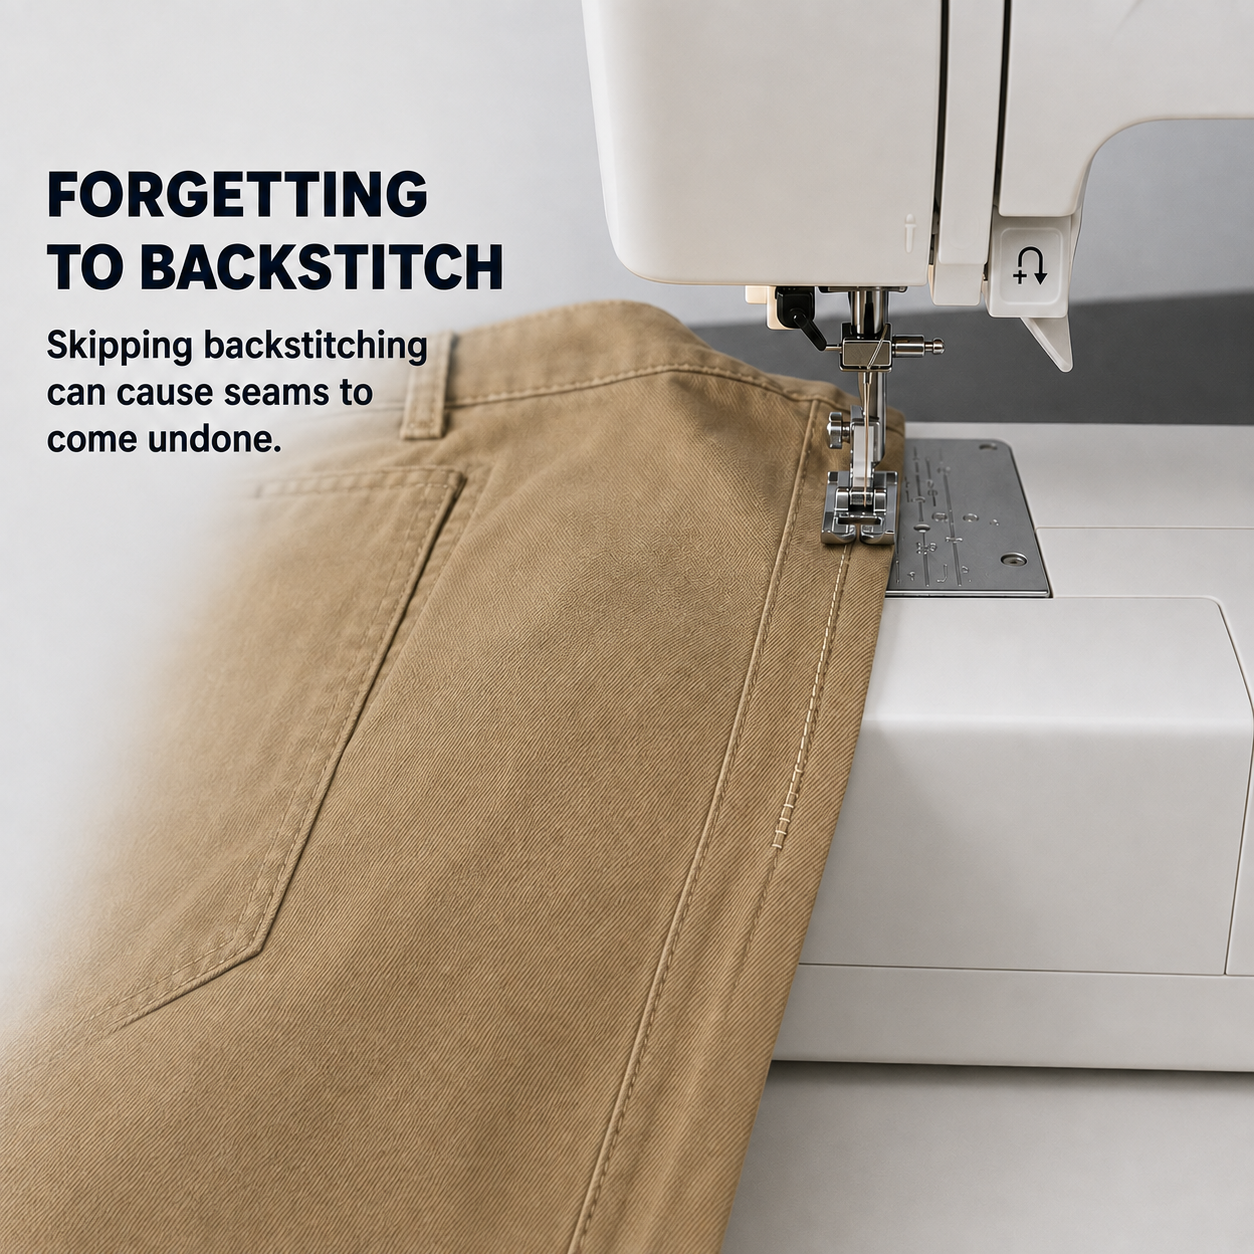
That’s what your backstitch does. It’s not a stitch per se, it’s more of a process. And it’s an important one.
Most sewing machines have a reverse button or lever somewhere near the main controls. When you begin your seam, sew forward a few stitches. Then hold the reverse button and sew backward over those stitches. Then let go and continue sewing forward normally. When you reach the end of the seam, do the same thing again.
So your basic pattern is:
Forward a few stitches.
Backward a few stitches.
Sew your seam.
Backward a few stitches.
Forward to finish.
You’re basically overlapping the thread at both ends so the seam doesn’t unravel on you in the washing machine.
Don’t Go Crazy With the Backstitch
You only need like 2 or 3 stitches.
You don’t need:
Forward.
Backward.
Forward.
Backward.
Forward.
Backward.
26 times.
Now you’ve got a giant wad of thread at the end of your seam.
Bonus: Start With a Stitch Length Around 2.5
If you’re brand new and have no idea what your straight stitch settings should be, start simple.
For a lot of basic clothing alterations, a straight stitch around 2.5 mm is a solid starting point.
That works well for many everyday woven fabrics like:
Start around 2.5. Sew a test line. Look at it.
If the fabric lies flat and the stitches look solid, you’re good.
Leave the machine alone. Beginners have a bad habit of seeing six different dials and assuming all six need to be adjusted.
They don’t.
Sometimes the correct sewing-machine setting is:
Don’t touch anything.
The Straight Stitch Isn’t Supposed to Be Perfect Immediately
Your first few straight stitches are probably going to suck. That’s fine. You might drift off your line. You might forget the presser foot. You might forget to backstitch.
You might sew something together that absolutely, positively was not supposed to be sewn together.
Congratulations.
You’re learning how to tailor your clothes.
The Simple Straight Stitch Checklist
Before you start sewing, run through this quickly:
Set your machine to a straight stitch
Start around a 2.5 mm stitch length
Put your fabric underneath the presser foot
Lower the presser foot
Line the fabric up with your seam guide
Backstitch a few stitches at the beginning
Let the machine move the fabric
Guide it gently instead of pushing or pulling
Sew slowly enough to stay in control
Backstitch again at the end
That’s really it.
You don’t have to become amazing at sewing before you can start tailoring your clothes. You just need to get comfortable with a few easy skills. And the straight stitch is the biggest one. Once you can consistently sew a decent straight stitch, you can make everything in your closet fit you perfectly.
And suddenly that sewing machine stops looking like some weird complicated crafting device and starts looking like what it actually is:
A tool for making your clothes fit way better.