Stop Making These 4 Beginner Zigzag Stitch Mistakes
I’m SD and I teach guys on YouTube how to tailor their own clothes using a sewing machine. It’s 1000 times easier than most guys think it is.
I’ve also got a saying. Store-bought clothes are made to fit everybody.
And because of that, they don’t fit anybody.
At some point, you're gonna put on a shirt that fits like hot garbage, a T-shirt with sleeves that annoyingly flare out 4 inches from your arm, or a pair of pants that fits fine in your thighs but has enough room around the ankles to hide a small family of hamsters.
That's when you realize the problem was never about your body or how you’re shaped. And you don't suck at shopping.
Clothing manufacturers just figured they would make one shape work for millions of different body types.
So because of their desire to maximize profits, you’re stuck wearing clothes that drape over you like a table cloth.
Learning how to tailor your own clothes lets you fix that. But I have to warn you, it’s the most addicting thing in the entire world. You will never wear something that you haven’t first tailored ever again. You think I’m kidding.
Sewing machines can seem super overwhelming at first. They can do a ton of things so I get it. Luckily I made a tutorial on the only things you need to know.
Here's the part most beginners don't realize: you don't need to know 47 different stitches to get started. For 99% of all alterations, you need two:

Pretty much any sewing machine you buy is gonna have both.
The straight stitch is easy enough to understand. It's a straight line (also sometimes tapered).
The name did most of the work for us.
The zigzag stitch is where beginners start getting tripped up.
A tutorial tells you, “Finish the raw edge with a zigzag stitch,” then immediately moves on like that sentence explained anything at all.
So you’re stuck there wondering “What width should you use? What stitch length? Is the stitch supposed to go through the fabric or hang over the edge? And what the hell is a raw edge?”
If you've had those questions, you're not behind. They just weren't explained clearly.
So let's fix that.

What Is a Zigzag Stitch?
When you’re using a sewing machine, a straight stitch moves forward in one clean line. Your needle isn’t going to do anything besides go straight up and down.
A zigzag stitch still moves forward, but the needle also travels from side to side in addition to up and down as it sews.
Thats what creates a zigzag pattern.
That side-to-side movement makes the stitch great for two big jobs:
Finishing a raw edge after you cut off the extra fabric so it doesn't fray
Sewing stretch fabric without the thread snapping when the fabric stretches (like when shortening a t-shirt)
And a raw edge is just that unfinished edge of fabric left behind after you cut it.

Let's say you're slimming a dress shirt. You sew your new side seam with a straight stitch, then cut off all the extra fabric.
That cut edge is now the raw edge. A zigzag stitch helps wrap and protect it so the fabric doesn't slowly unravel on you over time.
Simple enough.
But the same zigzag settings won't work perfectly for every fabric or every job. That's where these four common mistakes come in.

Mistake #1: Making the Zigzag Stitch Too Wide
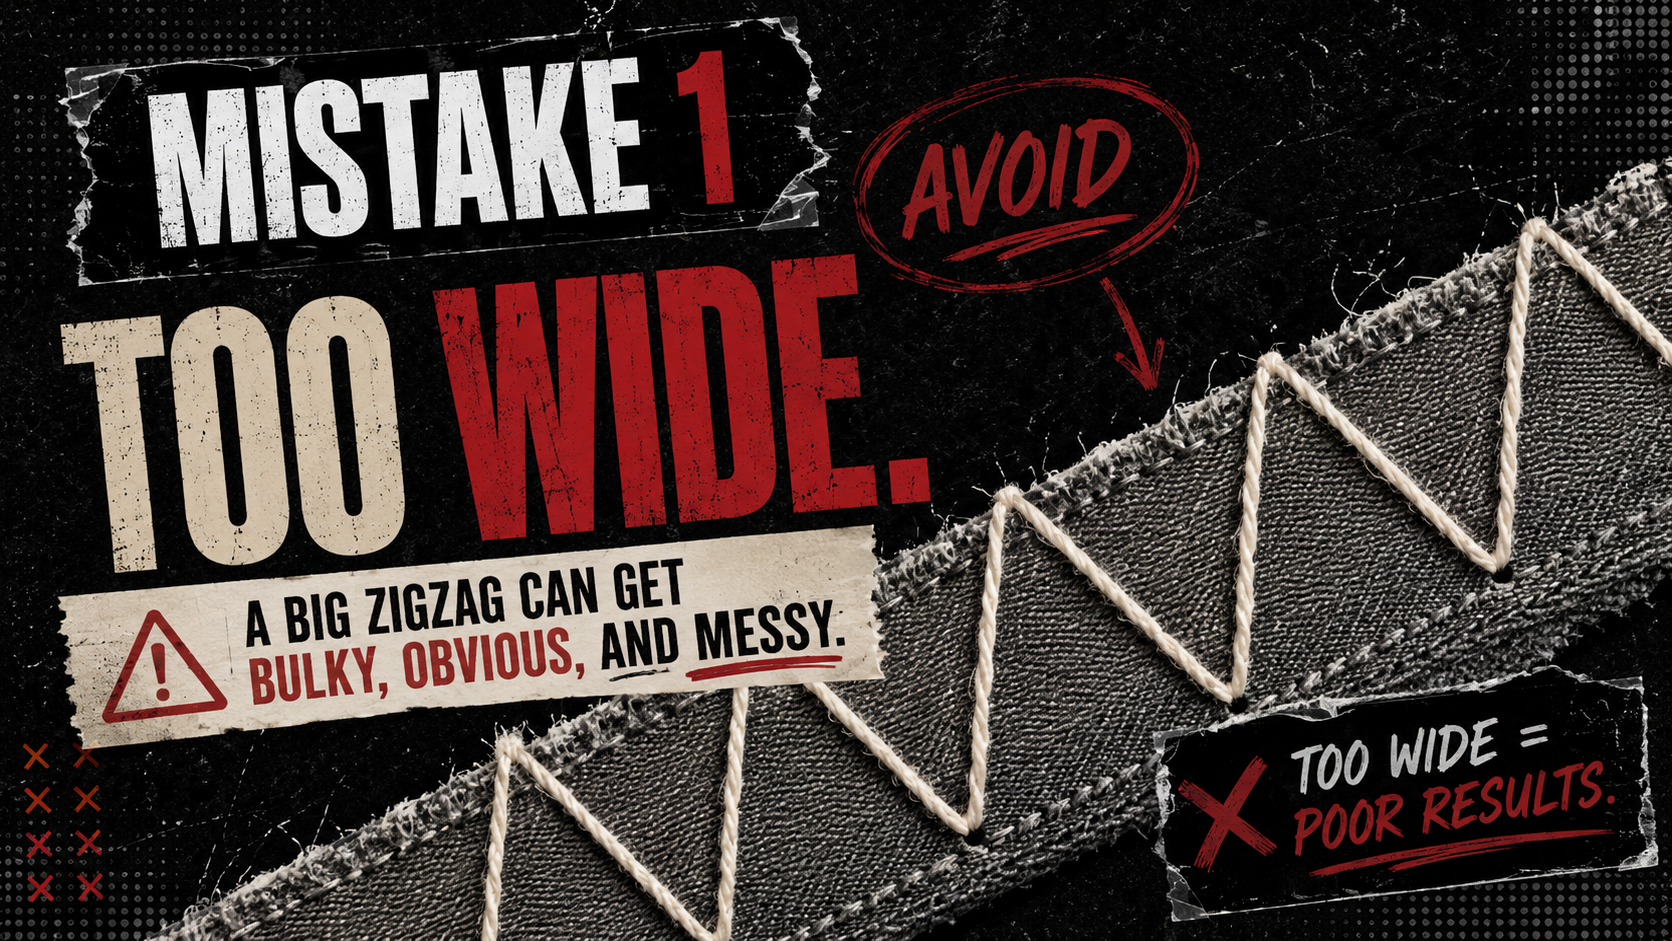
A wide zigzag sounds like it should be better.
More side-to-side movement means the stitch is gonna cover more fabric right?
Technically, sorta yeah.
But it can also make the seam really bulky and wavy.
When the needle travels too far from side to side, it grabs more fabric than it needs too.
Thats gonna pull on the fabric too much and make it pucker. You can see from the outside and its gonna make you mad.
This gets especially ugly on lighter fabrics like:
T-shirts
Workout shirts
Thinner dress shirts
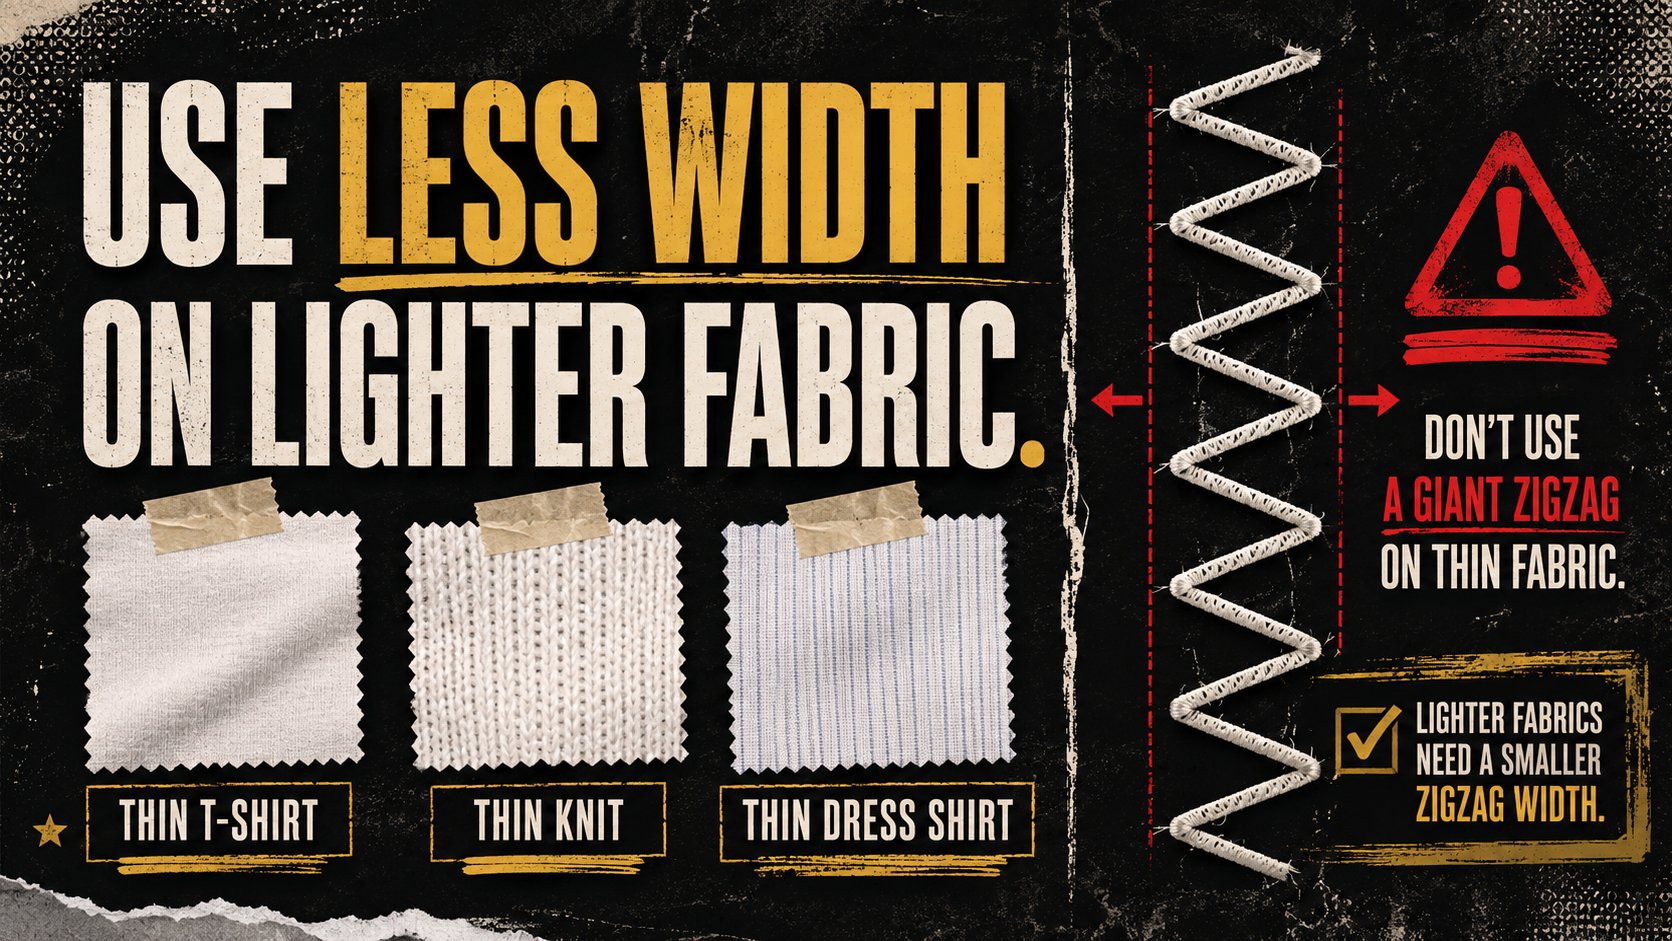
The whole point of tailoring your clothes is to make the work you did disappear into the garment.
People should notice that your shirt fits better. You don’t want them looking at a wavy side seam trying to figure out what happened to it.
Ask me how I know.
What to do instead
Use enough width to protect the edge without dragging a bunch of fabric into every stitch.
For finishing a raw edge, a stitch width setting of around 4 to 6 mm is a solid place to start.
Mistake #2: Making a Stretch Zigzag Too Narrow
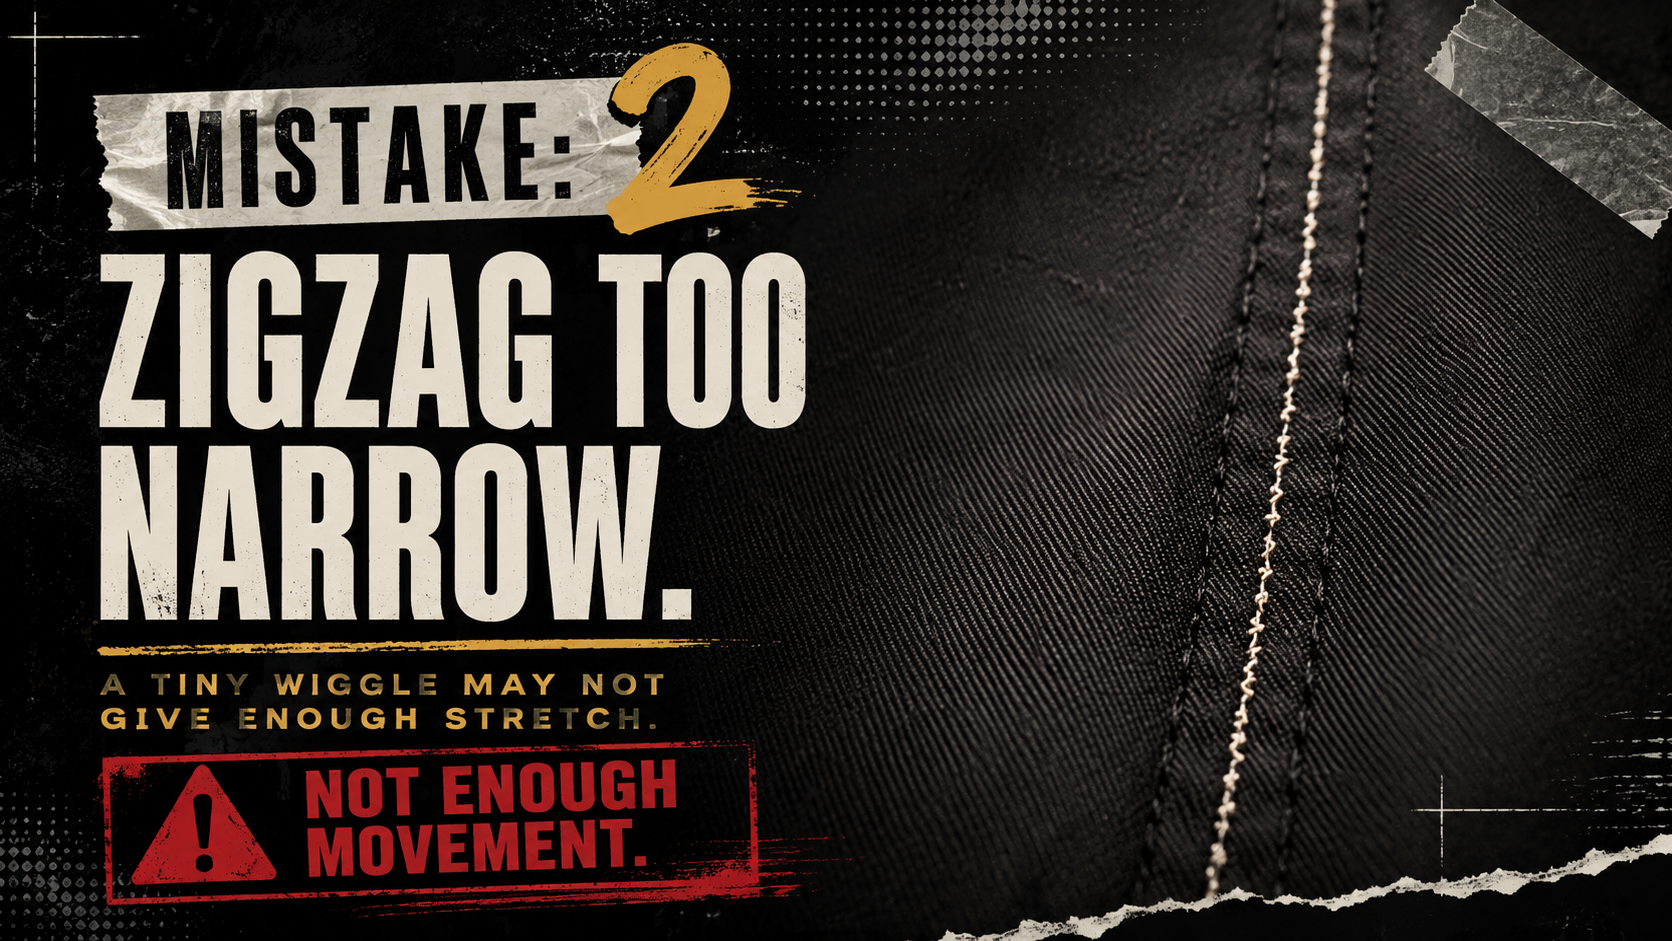
This one's kind of confusing because a zigzag stitch that’s too narrow actually has a real purpose.
When you’re shortening a t-shirt you want to keep the factory hem. It’s nice and stretchy, and we want to maintain that elasticity.
Because of that we want to use a narrow zigzag stitch instead of a straight stitch. The slight side-to-side shape is gonna let the seam stretch with the fabric.
A straight stitch doesn't have much give at all. Pull the fabric far enough and the thread might break on you.
But if you make your “narrow zigzag” so narrow that it looks almost completely straight, you lose most of that extra movement. Now you've basically made a straight stitch wearing a cheap disguise.
You might finish shortening a T-shirt, put it on, stretch the hem, and hear that tiny pop that lets you know the thread just gave up on the relationship.

What to do instead
You want the zigzag narrow enough to look good, but wide enough that you can still clearly see the individual zigzags.
For a stretch seam, try starting with your stitch width around 2 to 3.
If the thread breaks or the seam won't stretch with the fabric, make the zigzag a little wider.
Mistake #3: Ignoring the Stitch Length

Beginners spend so much time thinking about zigzag width that they forget the other half of the setup: stitch length.
The width controls how far the needle moves from side to side.
The length controls how much the fabric moves forward between each stitch.
You can leave the width exactly the same, change only the length, and end up with a zigzag that looks completely different.
If the stitch length is too short
The zigzags get packed together super tight. The seam becomes really thick and stiff, and you’re gonna feel it trust me.
On the inside of a pair of chinos, that dense line of thread can feel like a cord rubbing against your leg all day.
Sure the pants fit better now. They also feel like they're trying to sand your skin off.
If the stitch length is too long
You end up getting these really big gaps between each zigzag.
If you're using it to finish a raw edge, those gaps leave way more of that raw edge exposed than you want. The stitch probably isn’t gonna control fraying as good, especially on fabric that likes to fray the second you look away (I’m looking at you denim).
What to do instead
When you’re finishing a raw edge, just leave your stitch length right at 2.5 like we always do. If the stitches look jammed together or the edge feels stiff, go up in length by a little bit. If the gaps look way too big then shorten it.
All that being said, don't obsess over landing on one magic number. It’s honestly not that deep.
Mistake #4: Expecting a Zigzag Stitch to Look Like a Serger

This mistake makes a lotta beginners think they failed when they actually did everything right.
Take a look inside a store-bought T-shirt and you'll usually see damn near perfect loops of thread wrapped around the fabric edge.
That factory-style finish was made with an industrial setup that costs a lot of money.
One step below that is a serger, which is a machine that can trim the fabric, stitch the seam, and wrap the raw edge in thread all at the same time.
A regular sewing machine with a zigzag stitch can help accomplish the exact same basic goal, preventing the edge of the fabric from fraying. But it’s gonna look completely different.
And that's totally fine.
You're using a different tool.

If you slim a shirt with a straight stitch, trim the extra fabric, and finish the edge with a zigzag stitch, the inside is gonna look homemade compared to a factory seam.
But if the new seam is on a garment that looks good from the outside and fits you perfectly, well then it did its job.
Nobody's gonna stop you in Target, flip your shirt inside out, and inspect your seam finish.
They're gonna notice that the shirt fits your shoulders, follows the shape of your torso, and doesn't hang off you like a hospital gown.
That's the result that matters.
You don't need an industrial machine. You don't need a serger. And you definitely don't need 20 years of sewing experience.
You need a basic used sewing machine, a straight stitch, a zigzag stitch, and…thats honestly it.
Get those four zigzag stitch mistakes outta the way, and your tailored clothes will start looking MUCH better.